Help Center FAQ
Common questions once you're up and running with Streetcraft Studio.
Installation
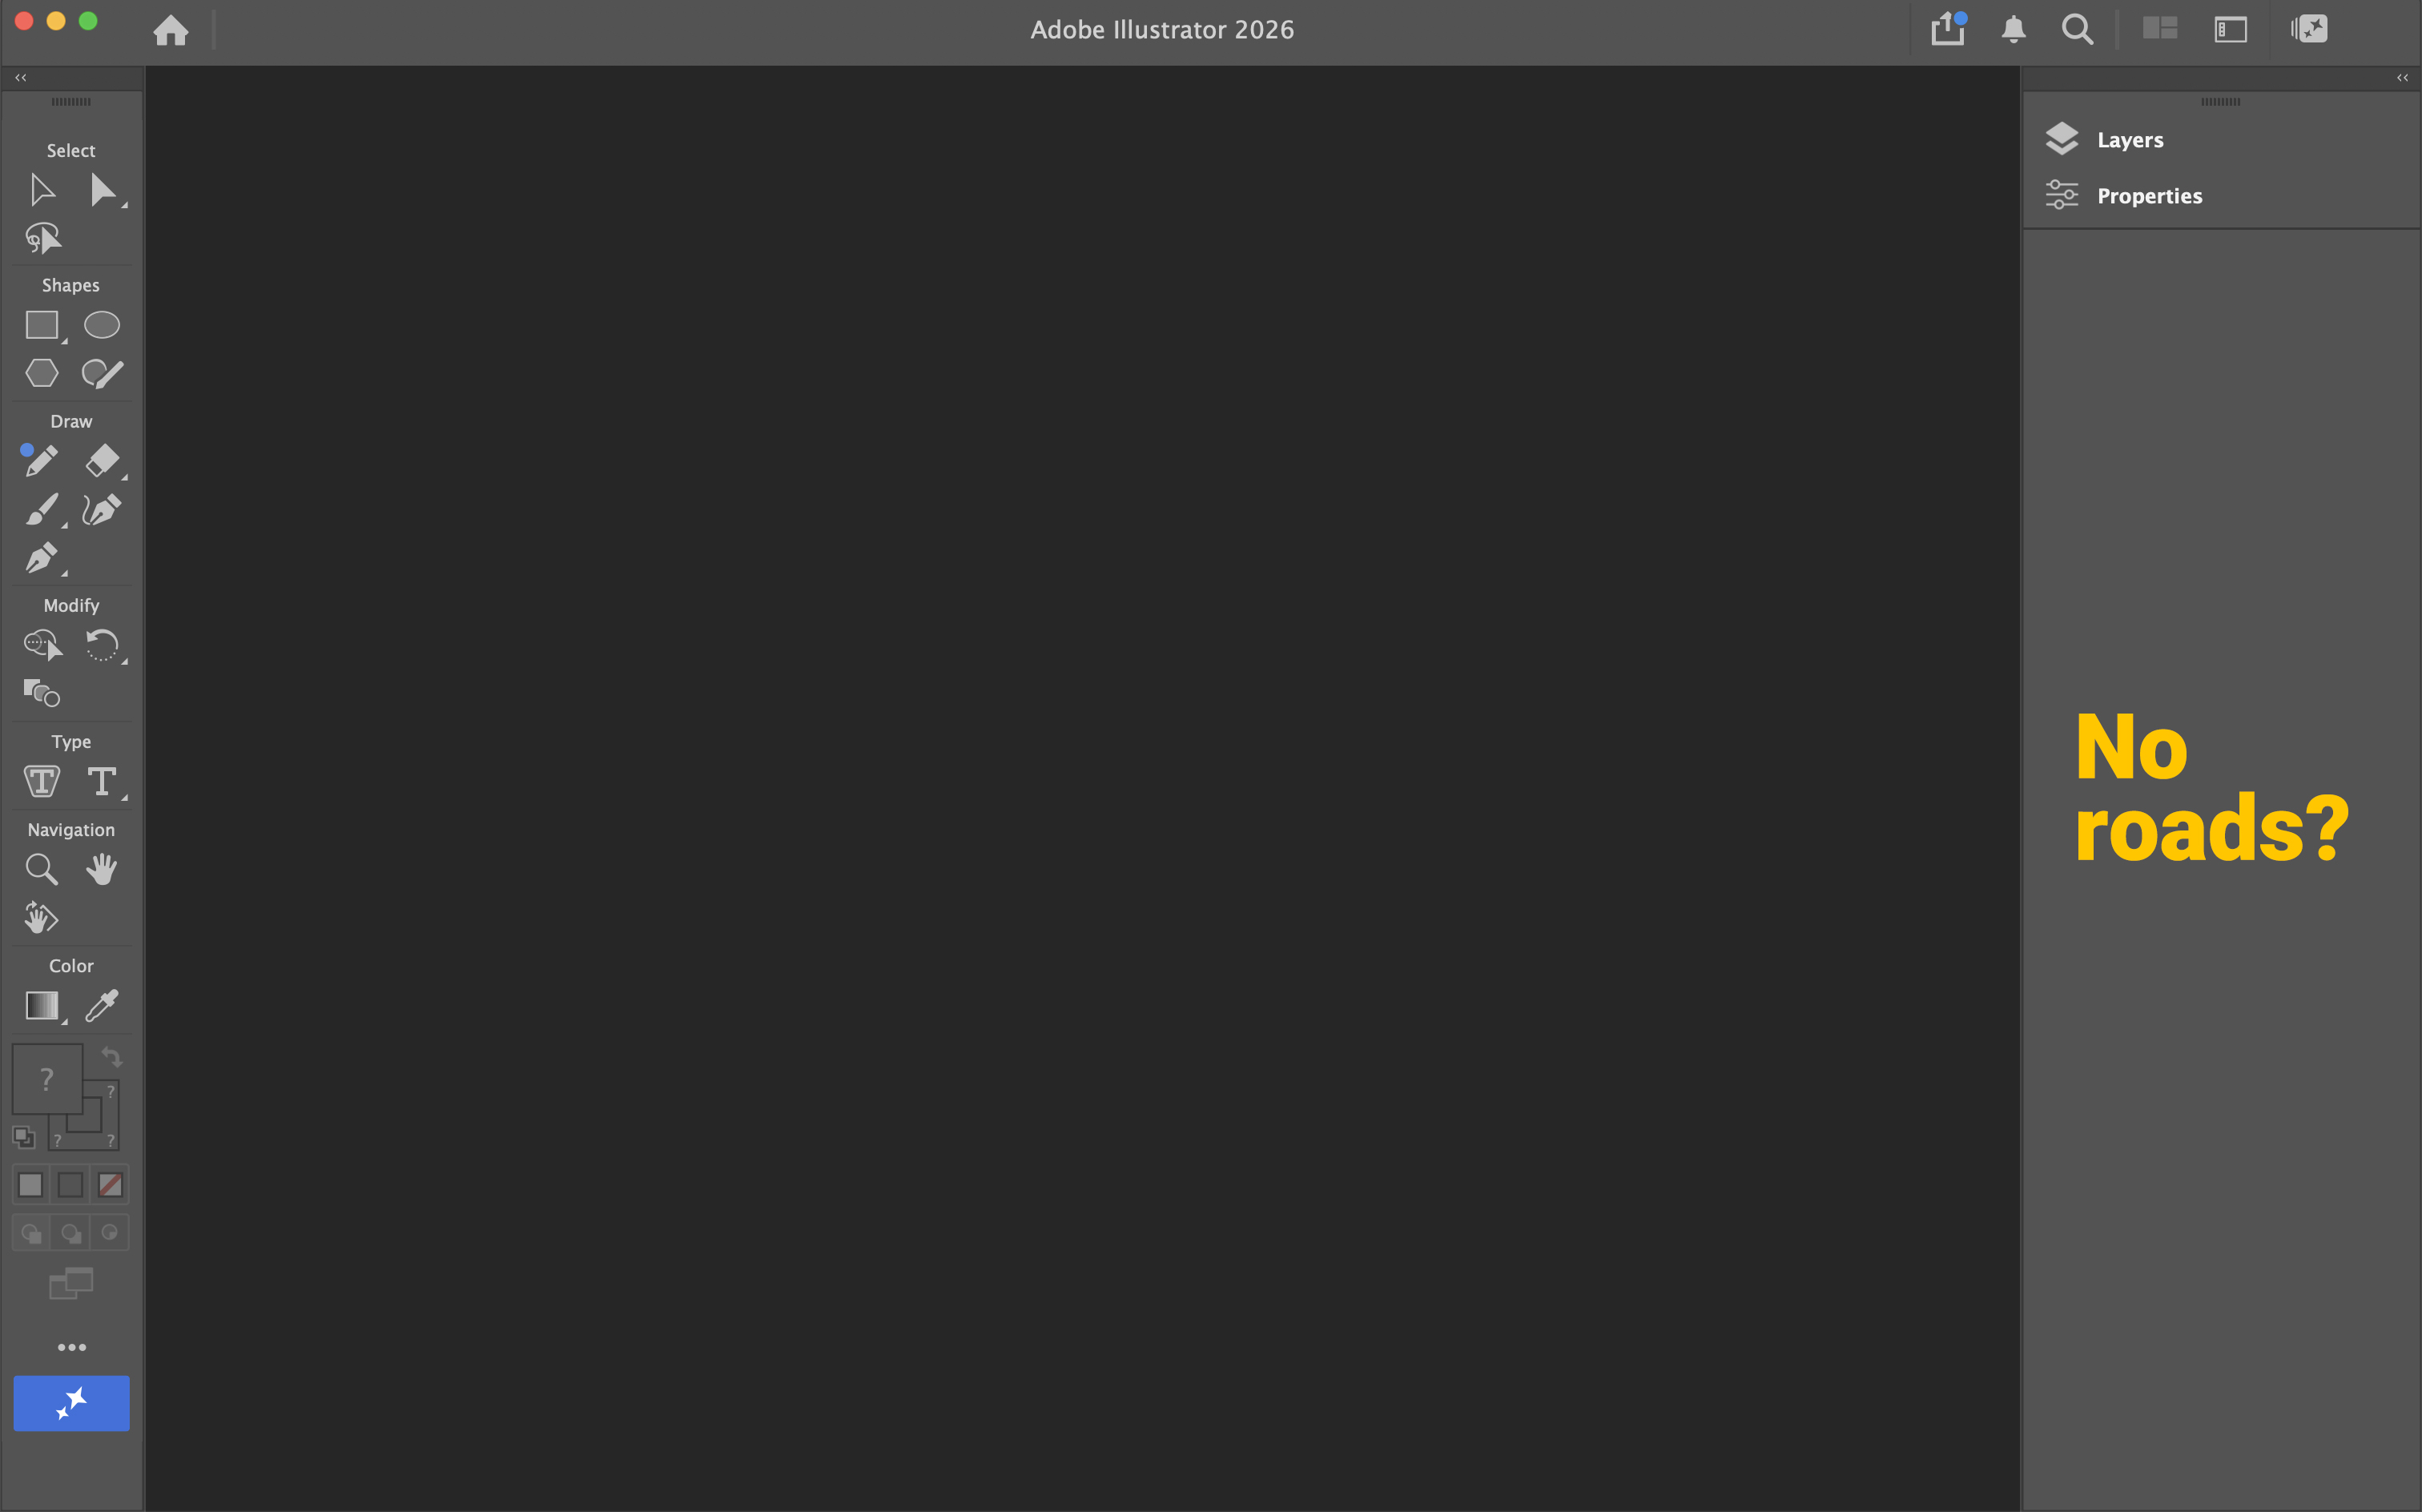
- Close Illustrator completely.
- Run the Streetcraft Studio installer again.
- Open Illustrator, then go to Window → Workspace → Reset Streetcraft Studio.
This is a known quirk with how Illustrator loads new workspaces on some computers — we're looking into a permanent fix. You'll only need to do this once.
- With Illustrator closed, run the Streetcraft Studio Installer.
- Open Illustrator.
- Open a new document — File → New (blank) or File → Open (an aerial image).
- Then open the toolkit: Window → Workspace → Streetcraft Studio.
Road swatches don't automatically install into a visible panel — you have to open the swatch library manually.
- Go to Window → Swatch Library → User Defined → Streetcraft Studio Swatches → Road Swatches.
- Once the panel is open, either go to Window → Workspace → Reset Streetcraft Studio, or drag the panel wherever you want (e.g. over to the right).
The three bars at the top of the panel let you customize the view settings. Large List View is easy to see, and turning on Persistent makes the panel stay there for future projects.
To reopen any of the toolkit elements:
- For road presets, go to Window → Brush Libraries → User Defined → Streetcraft Studio Brushes and select the one you want to open.
- For any drag-and-drop item (intersections, vehicles, etc), go to Window → Symbol Libraries → User Defined → Streetcraft Studio Symbols and select the one you want to open.
Don't want to track down individual panels?
Go to Window → Workspace → Streetcraft Studio → Reset Workspace to bring everything back to default in one step.
Depending on the message you saw, here's the fix:
"Illustrator hasn't been launched yet"
- Open Illustrator once, then quit it completely.
- Run the Streetcraft Studio installer again.
Illustrator creates its preferences the first time it opens, and the installer needs that to exist first. This is a one-time step.
"Quit Illustrator first"
- Quit Illustrator completely — not just close the window.
- Run the installer again.
The installer can't safely make changes while Illustrator has files open.
"Your Illustrator language isn't supported"
- Open the Creative Cloud desktop app, select the Account icon (top right) → Preferences.
- Select Language in the sidebar, choose English from the Default install language list, then select Done.
- Uninstall Illustrator, then reinstall it — it'll now install in English.
- Run the Streetcraft Studio installer again.
Illustrator's UI language is set when it's installed, not in its Preferences, so switching languages means reinstalling it. Streetcraft Studio doesn't fully support non-English Illustrator interfaces yet — we're working on adding more languages. See Adobe's own guide: Change language for Creative Cloud apps.
"Some assets couldn't be installed automatically"
- Restart Illustrator.
- Check whether the brushes, symbols, and swatches are all showing up.
If anything the installer flagged is still missing, email [email protected] with a screenshot of the installer's message.
"Can't find any Illustrator installation"
- Make sure Adobe Illustrator is installed.
- Open Illustrator once, then quit it.
- Run the installer again.
Yes, you'll only pay the difference. Check your original email confirmation for your upgrade link. Can't find it? Reach out to [email protected] and we'll be glad to help.
Scaling
The toolkit includes a scaling tool to ensure that the roads you're drawing on your satellite image are scaled to real-world dimensions.
- Using the Pen Tool (P), click two points along a known distance in your image (e.g. a lane width), then press Enter to finish.
- Go to File → Scripts → Other Scripts → AutoScaleScript.jsx.
- Enter the real-world length of the line you drew, and scale is set automatically.
By default, scale is always 1px to 1ft and vehicle lanes are 11ft wide.
If you need a different lane width, open Advanced to change it. This will also change the scale ratio accordingly.
Every element is built to standard real-world sizing, so once your image is scaled with the Auto Scale Tool, everything lines up automatically:
- Standard lane width
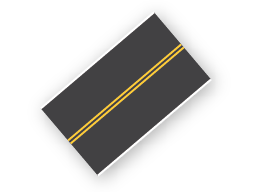 : 11 ft (the Auto Scale Tool's default — adjustable if your project uses something else)
 - Sidewalk: 6 ft, or 11 ft for the wide version
- Unprotected bike lane
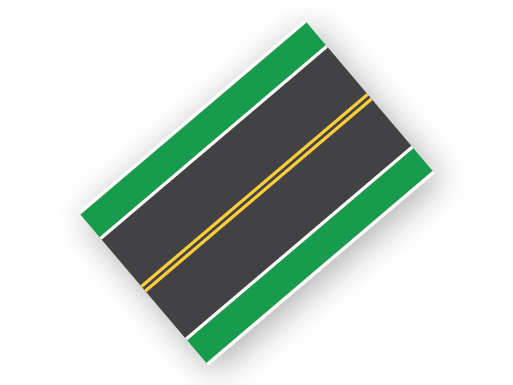 : 5.5 ft
 - Protected bike lane
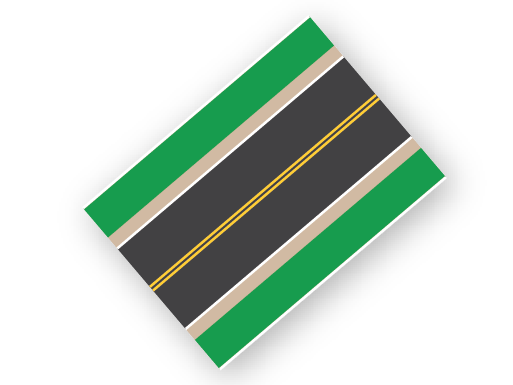 : 8 ft
 - Parking lane
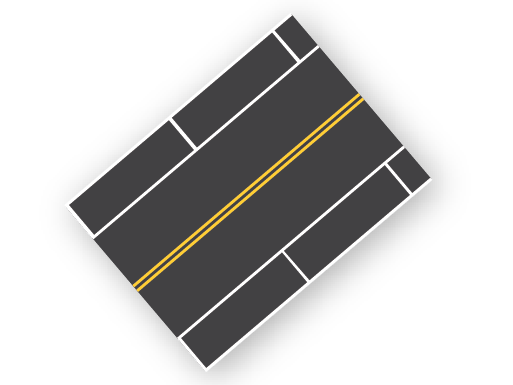 : 8 ft
 - Mini roundabout
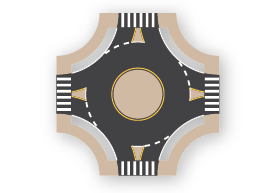 : 60 ft inscribed circle diameter (ICD)
 - 1-lane roundabout
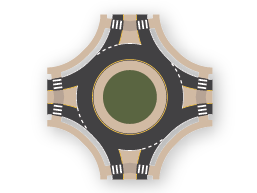 : 100 ft ICD
 - 2×1 roundabout
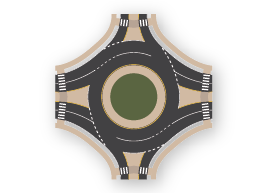 : 140 ft ICD
 - 2×2 roundabout
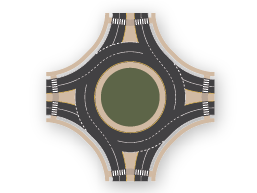 : 170 ft ICD
Drawing
- Use the Pen Tool (P) to draw a path — click to set points, click+drag to create a curve, then press Enter when finished.
- Select the path (V), then click any road preset to apply it.
The path should not have a fill — press X to make Fill active, then / to remove it.
- Use the Scissor Tool (C) to cut the path at the points where you want the road type to change.
- Select each new path (V) and apply a new preset to each segment.
Transitions marked with * require manual adjustment.
- AMove points — Direct Selection, click once to select a single point, then click and drag to move it
- PAdd points — Pen tool, hover over the path to see a +, and click
- PRemove points — Pen tool, hover over the point to see a -, and click
- ⇧+CCurve a point — Anchor Point tool, then click+drag
- ⌘/Ctrl+JJoin two points
Go to Object → Path → Reverse Path Direction.
Since this comes up often, it's worth setting up a custom keyboard shortcut for it:
- Go to Edit → Keyboard Shortcuts
- Select Menu Commands in the drop down menu.
- Search for Reverse Path Direction in the list.
- Click the empty field under the shortcut column and enter any key combo you want to assign.
- Click OK, then save your shortcut set when prompted.
Drag and drop them onto your project. Manual alignment is required.
Need more intersection customization? Right-click the intersection and select Break Link to Symbol, then find it in Layers and toggle the elements you want.
Not sure which intersection has the lane configuration you need? The Full Collection page is a great reference for seeing which intersections use which lane configurations.
- PPen — click to set points, click+drag to create a curve
- CScissor — cut a path at a point
- VSelection — move the entire path
- ADirect Selection — move individual points and curve handles
- XFill/Stroke Toggle — change the active color
- /Remove Color — sets the active fill or stroke to None
- Shift+CAnchor Point — click to remove a curve, click+drag to add one
Exporting
- Go to File → Export → Export for Screens…
- Select the artboard you want to export.
- Choose PNG or PDF.
- Increase the resolution before exporting. Set the export width or height dimension to 4000+ px
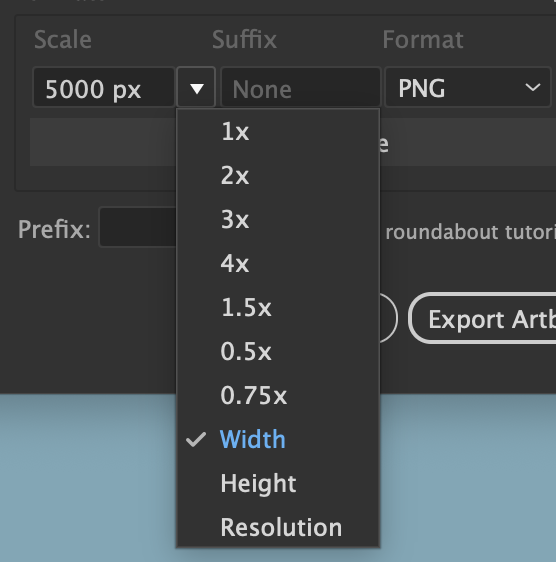 for a high quality export.
 - Click Export Artboard.
PNG
Looks best for sharing online, dropping into a slide, or presenting on screen. As long as the resolution is high enough, it'll look crisp.
Vector, not a fixed image, so it stays perfectly sharp no matter how far in someone zooms.
Or just take a screenshot
A quick screenshot can often look just as good as an export for every day use without worrying about dealing with export settings.
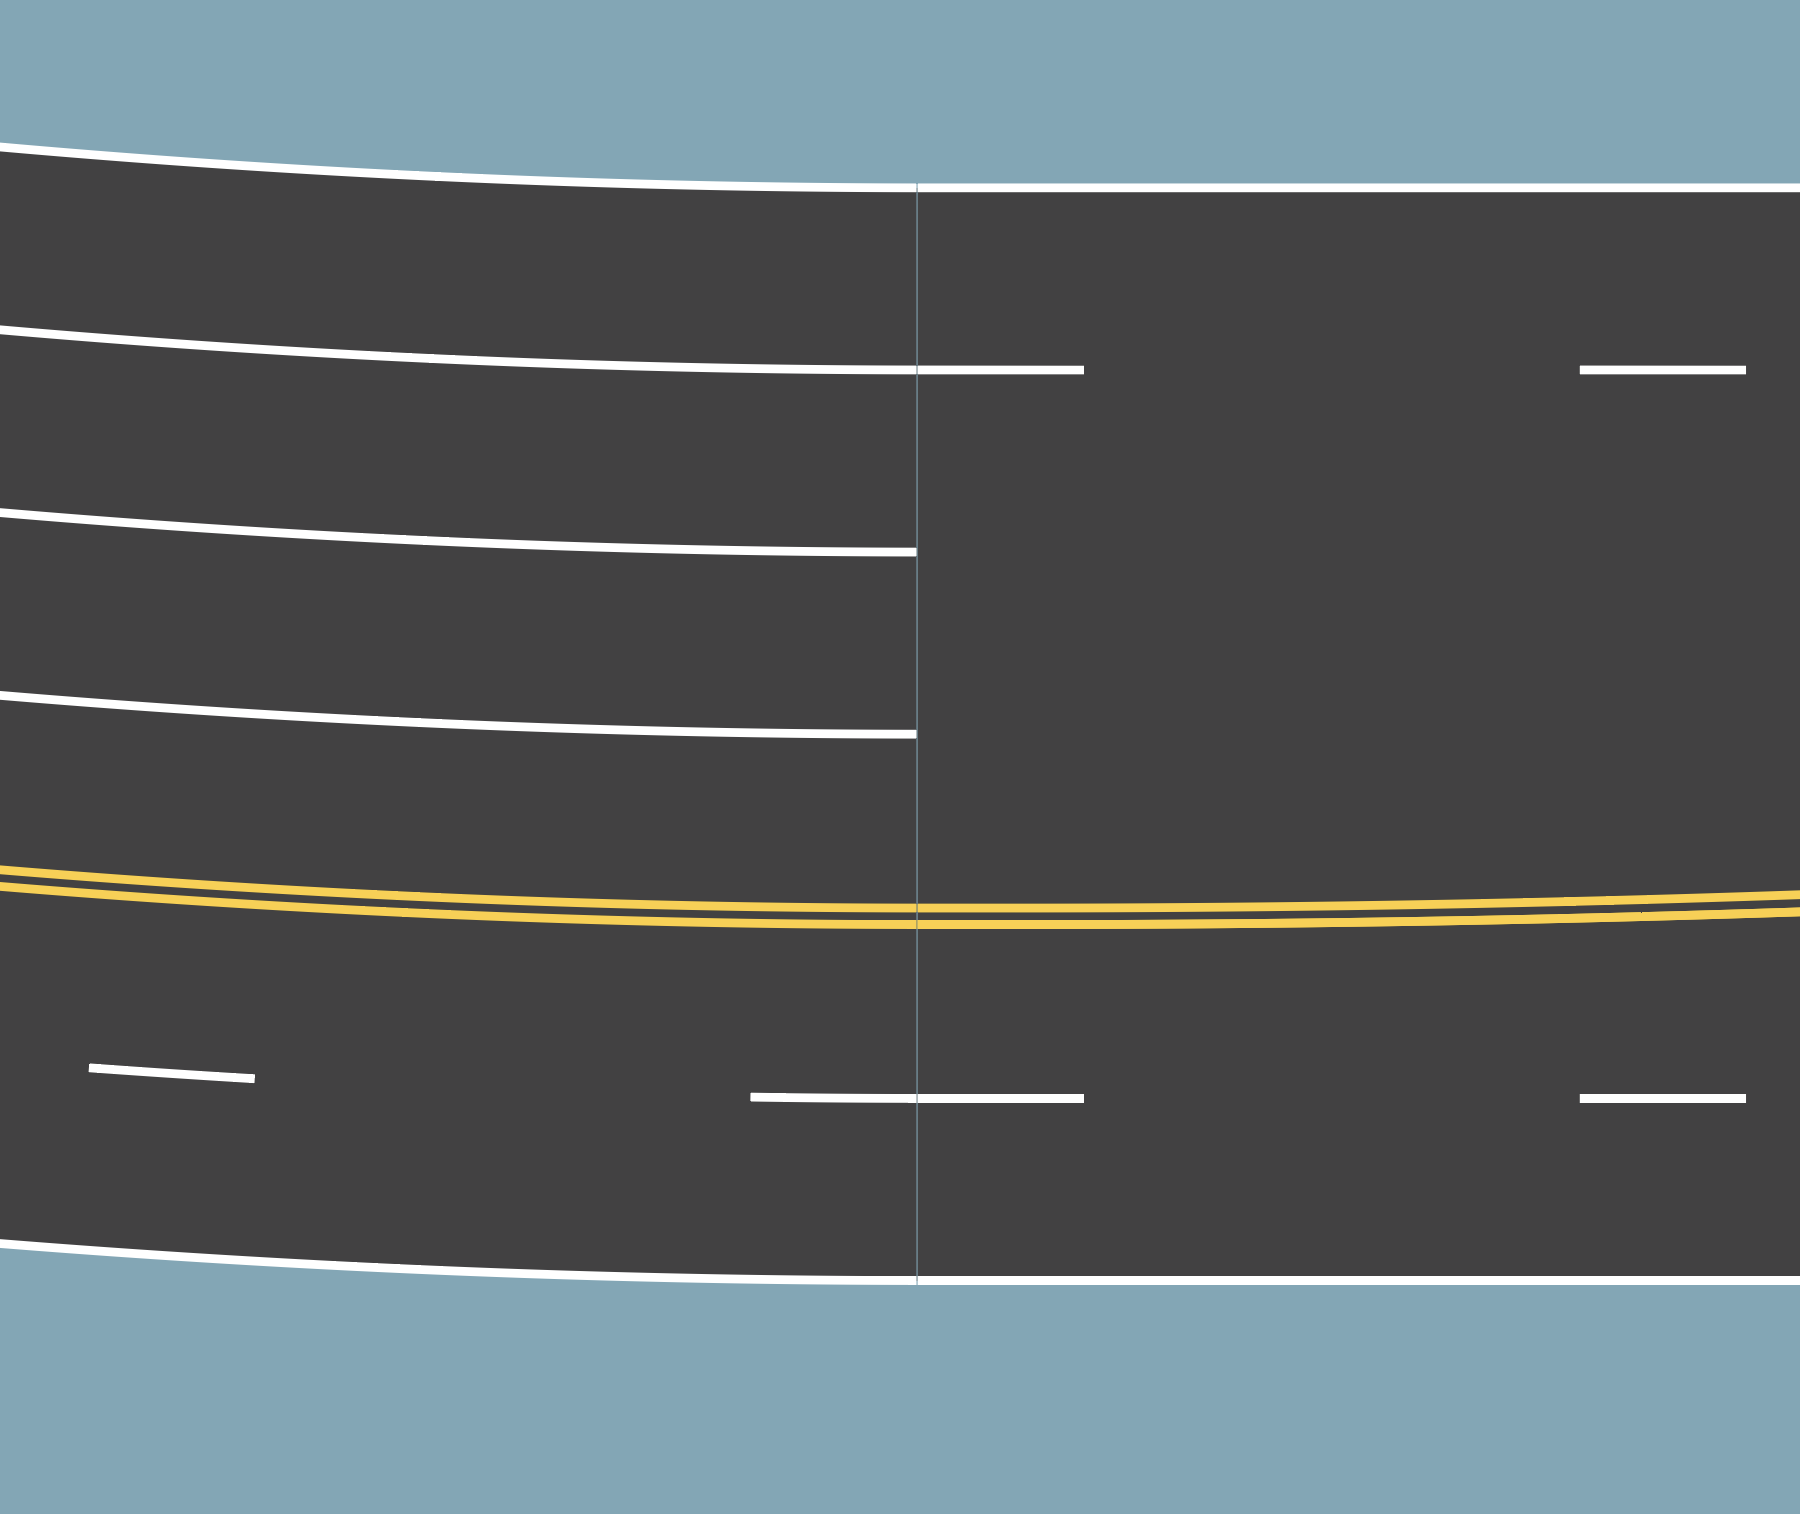
- First, try increasing the export resolution
- If that doesn't work, overlap the two road segments slightly to ensure there's no gap