
Element database
Here's everything included
in Streetcraft Studio Toolkit
Two-Way Roads

2 Lane
Solid double-yellow centerline

2 Lane (Dashed)
Dashed centerline
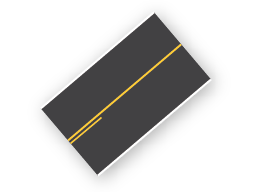
2 Lane (Asymmetrical Dashed)
Asymmetrical dashed centerline

2 Lane (Blank)
No pavement markings

2 to 3
Widens from 2 to 3

2 to 3 (Open)
Widens from 2 to 3 with opening for new lane

2 to 3 (Add Right Lane)
Widens from 2 to 3 by adding right lane (Requires manual adjustment)

2 to 3 (Blank)
Widens from 2 to 3 with no pavement markings

2 to 4
Widens from 2 to 4 lanes

2 to 4 (1+3)
Widens from 2 to 4 lanes in 1+3 configuration
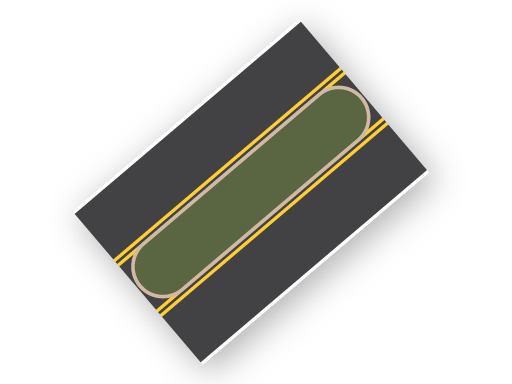
3 Lane (Median)
Center grass median
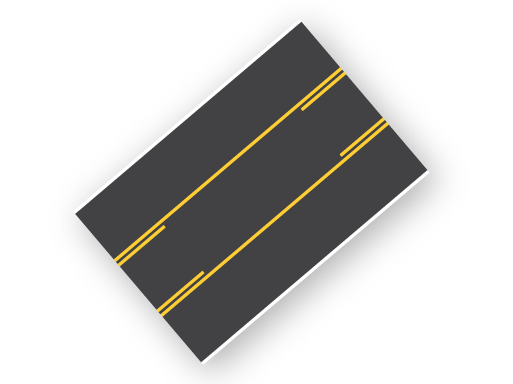
3 Lane (Turn Lane)
Center two way left turn lane
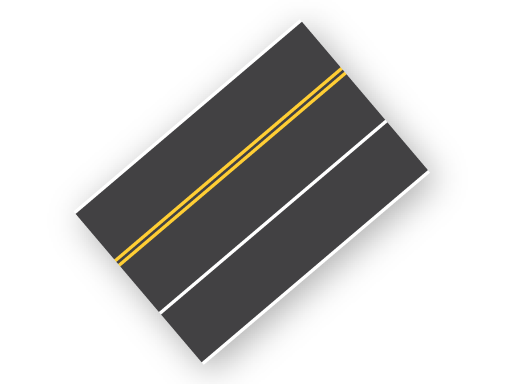
3 Lane (Solid)
1+2 configuration with solid lines
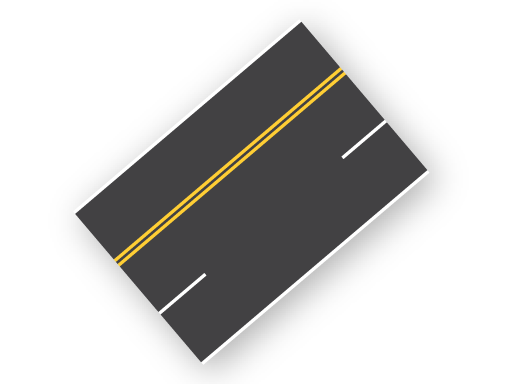
3 Lane (Dashed)
1+2 configuration with dashed lines

3 Lane (Open)
1+2 configuration with opening to add lane

3 Lane (Blank)
No pavement markings
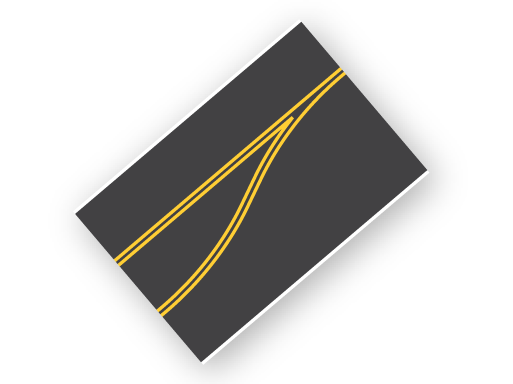
3 Lane (Begin 1+2)
Transition from center lane/median to 1+2 configuration

3 Lane (Swap 1+2)
Swaps direction of 1+2 configuration
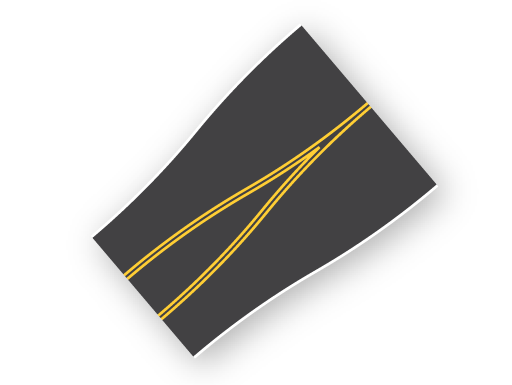
3 to 4
Widens from 3 to 4 lanes in 2+2 configuration
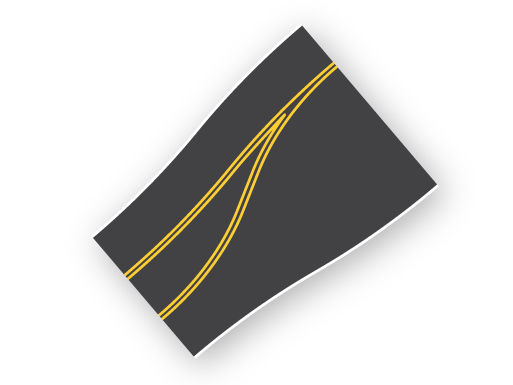
3 to 4 (1+3)
Widens from 3 to 4 lanes in 1+3 configuration

3 to 4 (Blank)
Widens from 3 to 4 lanes with no pavement markings
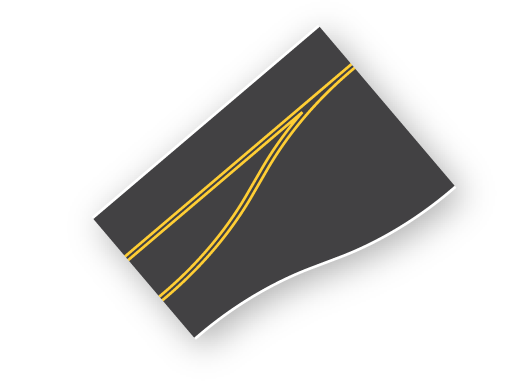
3 to 4 (Add Right Lane)
Widens from 3 to 4 lanes by adding right lane (Requires manual adjustment)
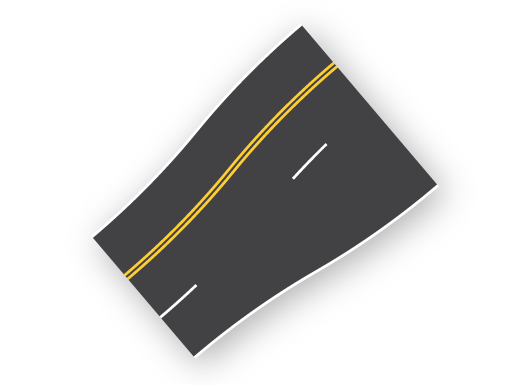
3 (1+2) to 4
Asymmetrical 3 lane (1+2) to 4
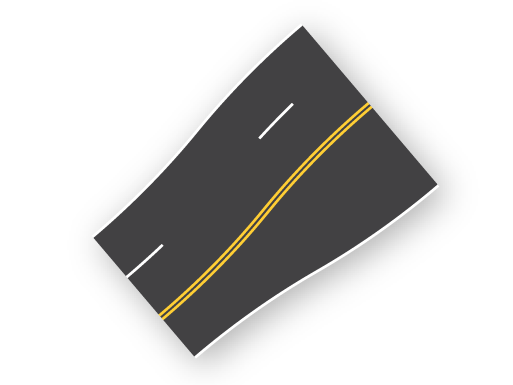
3 (2+1) to 4
Asymmetrical 3 lane (2+1) to 4

3 to 5
Widens from 3 to 5 lanes
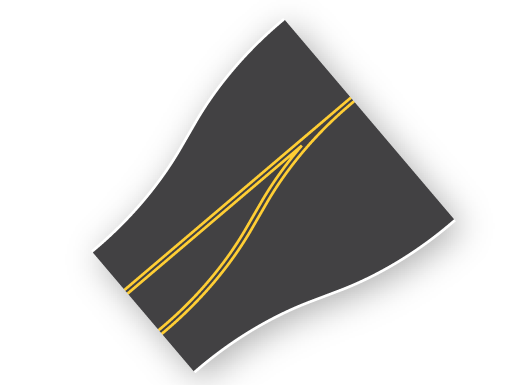
3 to 5 (2+3)
Widens from 3 to 5 lanes in 2+3 configuration

3 to 2
Narrows from 3 to 2 lanes
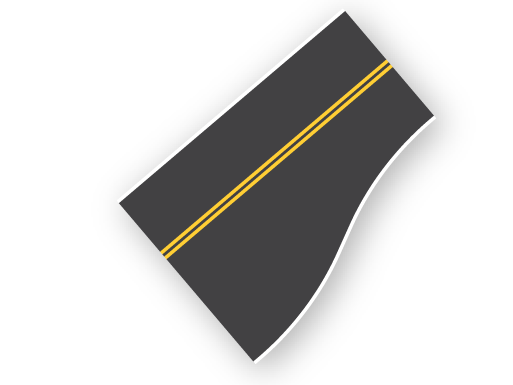
3 to 2 (End Right Lane)
Narrows 3 to 2 lanes by ending the right lane (Requires manual adjustment)
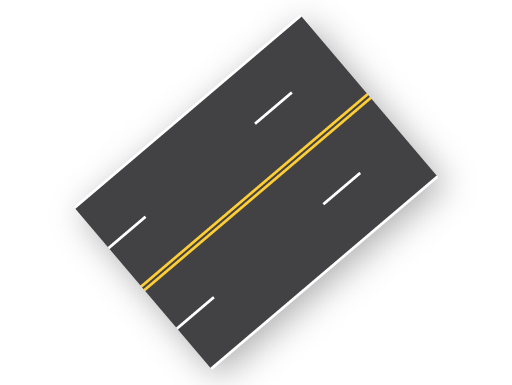
4 Lane (Dashed)
Dashed lane markings
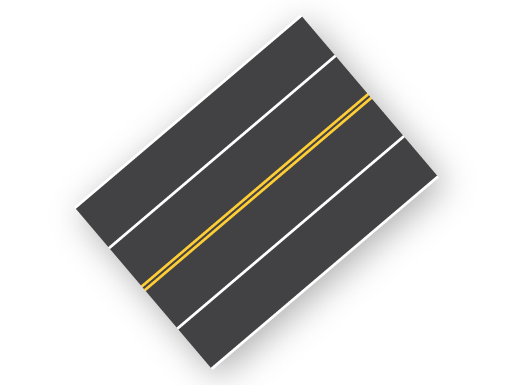
4 Lane (Solid)
Solid lane markings
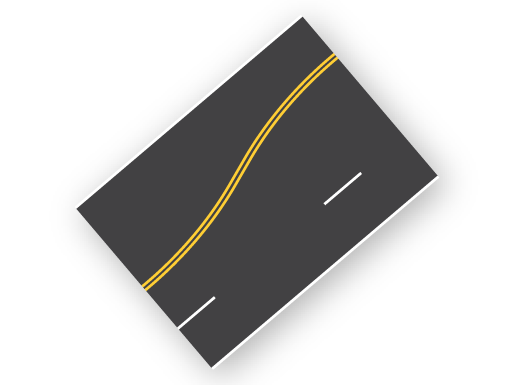
4 Lane (Begin 1+3)
Transition from 2+2 to 1+3 configuration
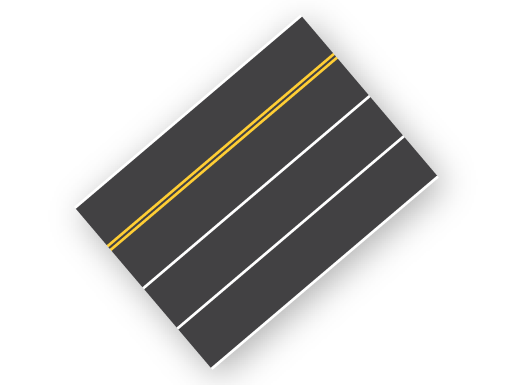
4 Lane (1+3)
Asymmetrical 1+3 configuration
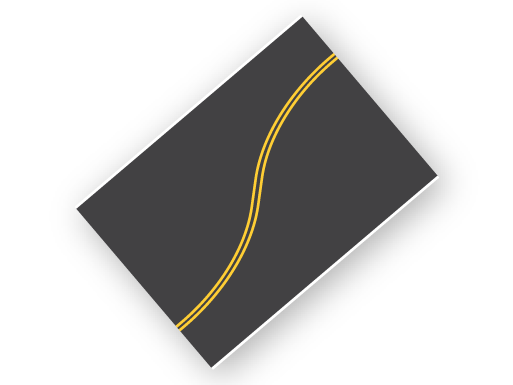
4 Lane (Swap 1+3)
Swap direction of 1+3 configuration
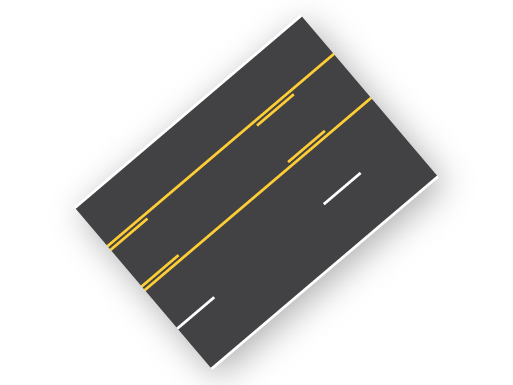
4 Lane (Turn Lane)
Asymmetrical two way left turn lane
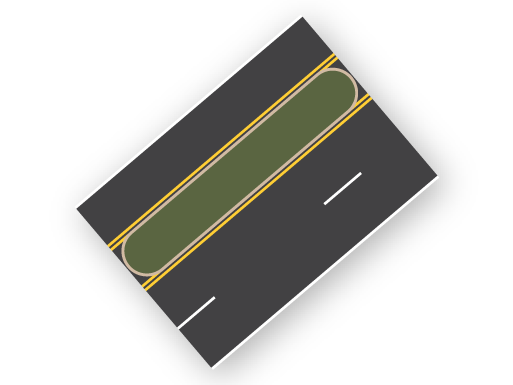
4 Lane (Median)
Asymmetrical grass median

4 Lane (Blank)
No pavement markings
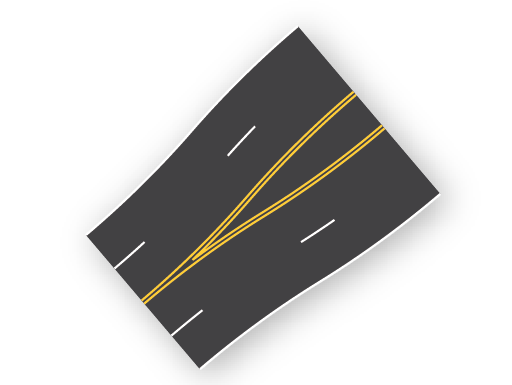
4 to 5
Widens from 4 to 5 lanes
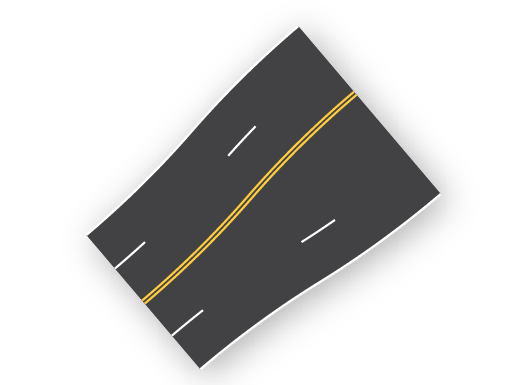
4 to 5 (Open)
Widens from 4 to 5 lanes with opening for new lane
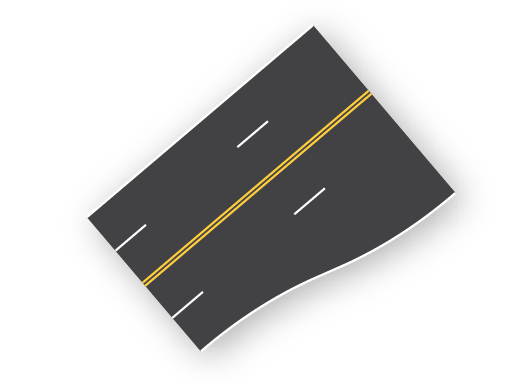
4 to 5 (Add Right Lane)
Widens from 4 to 5 lanes by adding right lane (Requires manual adjustment)

4 to 5 (Blank)
Widens from 4 to 5 lanes with no pavement markings
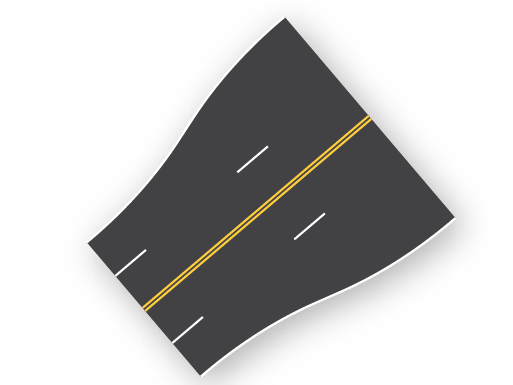
4 to 6
Widens from 4 to 6 lanes
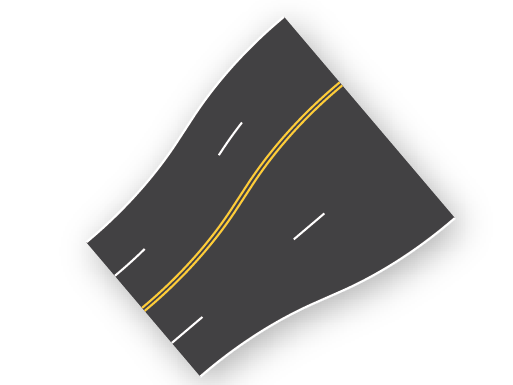
4 to 6 (2+4)
Widens from 4 to 6 lanes in 2+4 configuration

4 to 3
Narrows from 4 to 3 lanes
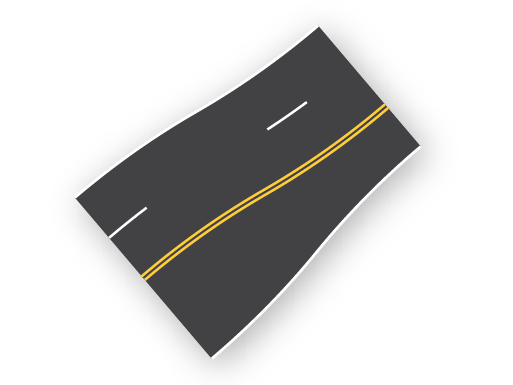
4 to 3 (2+1)
Narrows from 4 to 3 lanes with 2+1 configuration
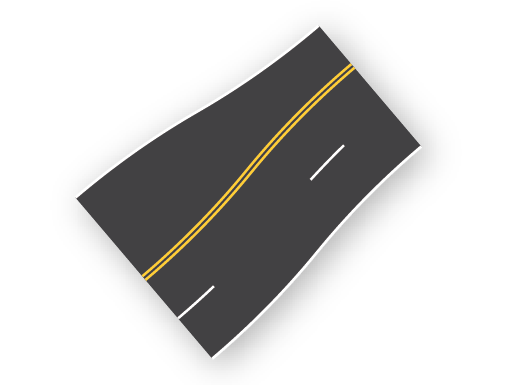
4 to 3 (1+2)
Narrows from 4 to 3 lanes with 1+2 configuration

4 Lane (End Right Lane)
Narrows from 4 to 3 lanes by ending the right lane (Requires manual adjustment)
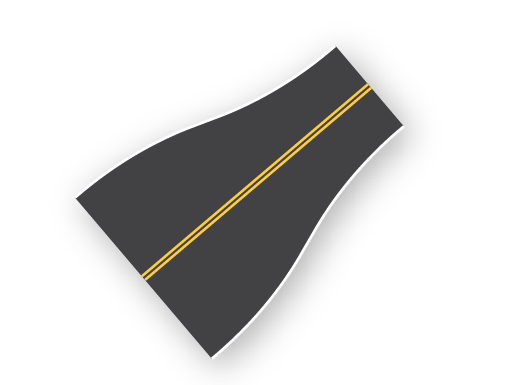
4 to 2
Narrows from 4 to 2 lanes
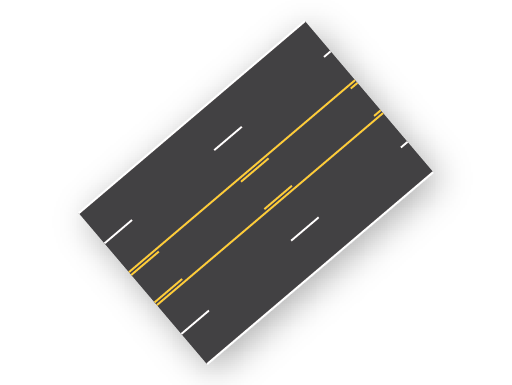
5 Lane (Turn Lane)
Center two-way left turn lane
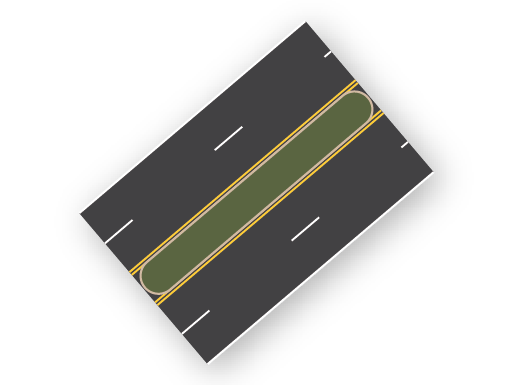
5 Lane (Median)
Center grass median
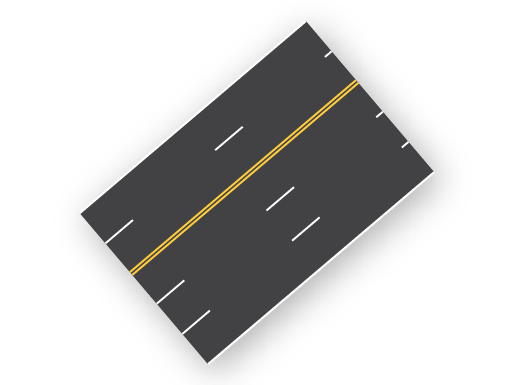
5 Lane (Dashed)
2+3 configuration with dashed lane markings
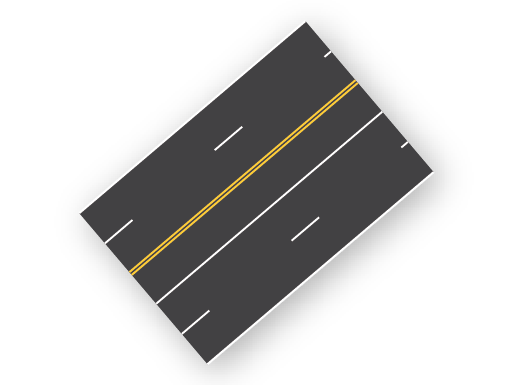
5 Lane (Left Solid)
2+3 configuration with solid left line
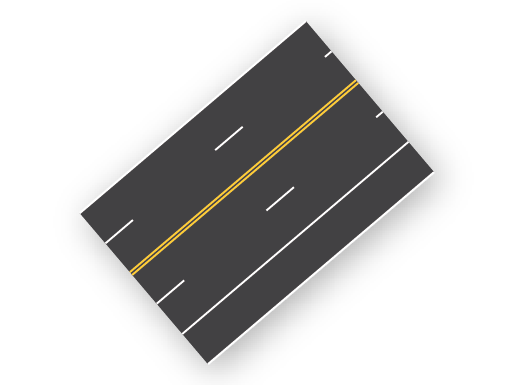
5 Lane (Right Solid)
2+3 configuration with solid right line
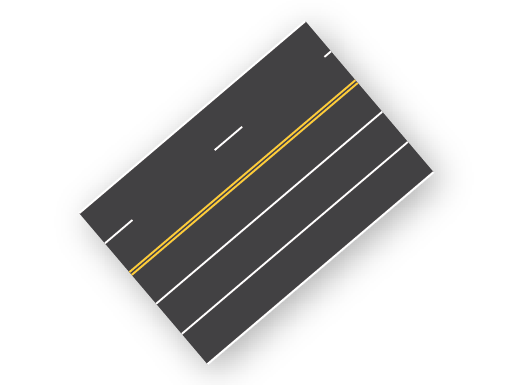
5 Lane (Solid)
2+3 configuration with solid lane markings
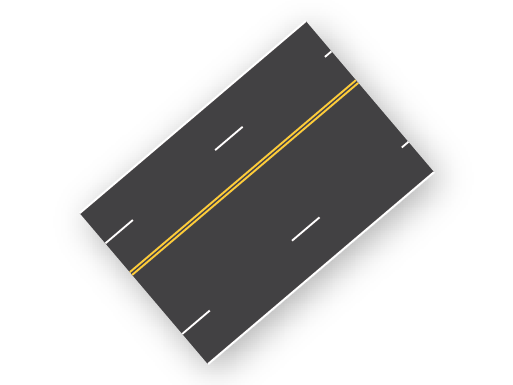
5 Lane (Open)
2+3 configuration with no left lane marking
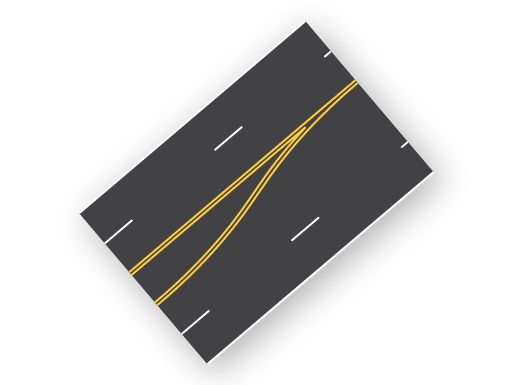
5 Lane (Begin 2+3)
Transition from center turn lane/median to 2+3 configuration
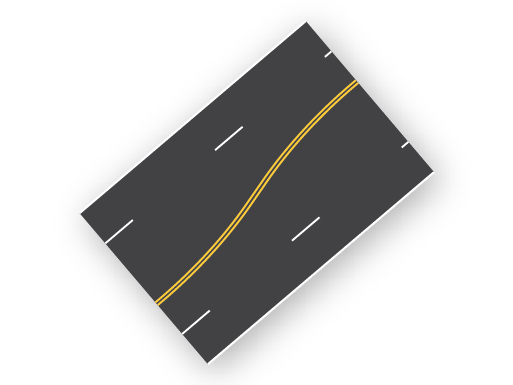
5 Lane (Swap 2+3)
Swap direction of 2+3 configuration

5 Lane (Blank)
No pavement markings
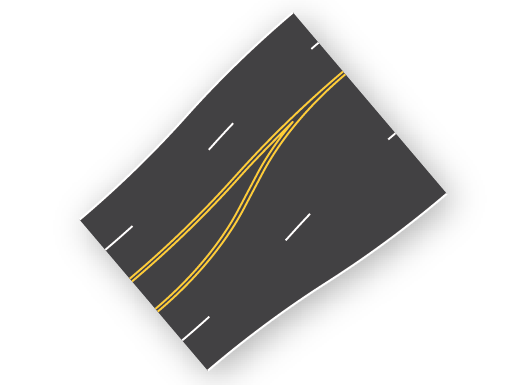
5 to 6
Widens from 5 to 6 lanes
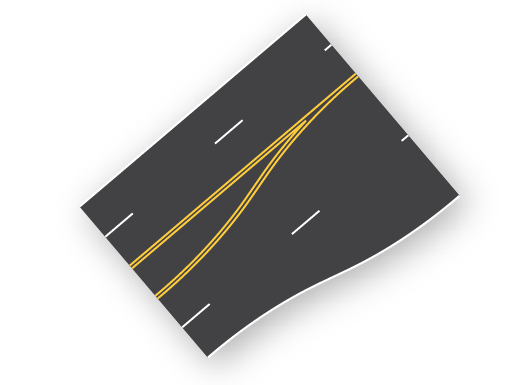
5 to 6 (Add Right Lane)
Widens from 5 to 6 lanes by adding a right lane (Requires manual adjustment)

5 to 6 (Blank)
Widens from 5 to 6 lanes with no pavement markings
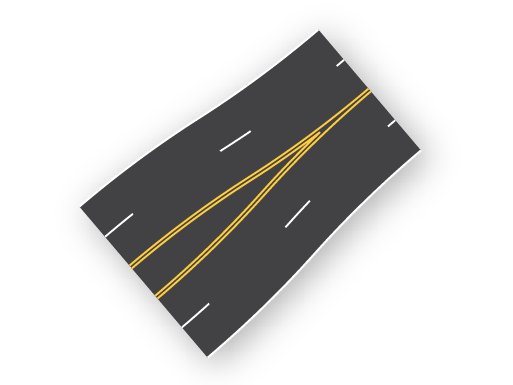
5 to 4
Narrows from 5 to 4 lanes
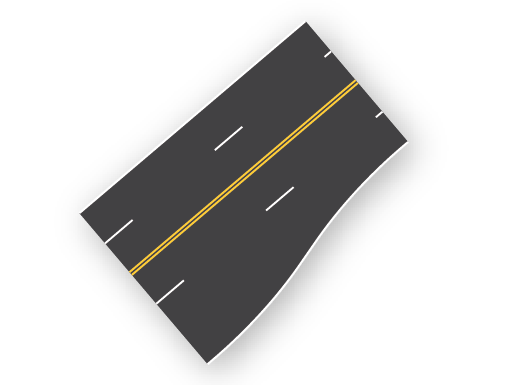
5 to 4 (End Right Lane)
Narrows 5 to 4 lanes by ending the right lane (Requires manual adjustment)
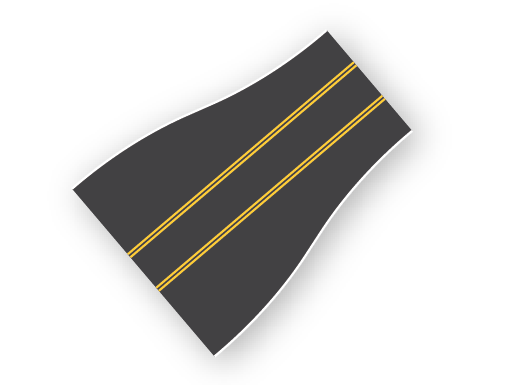
5 to 3
Narrows from 5 to 3 lanes
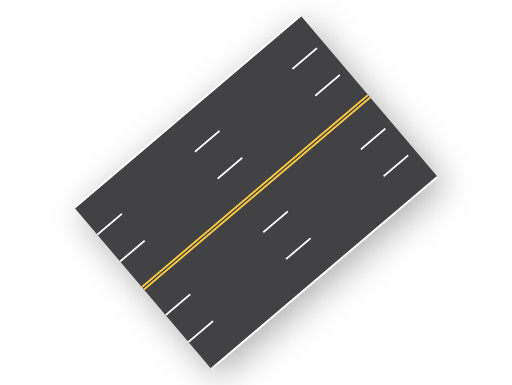
6 Lane
Solid centerline with dashed lane markings
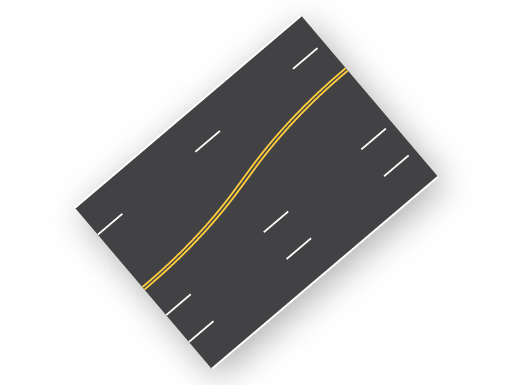
6 Lane (Begin 2+4)
Transition from 3+3 to 2+4 lane configuration
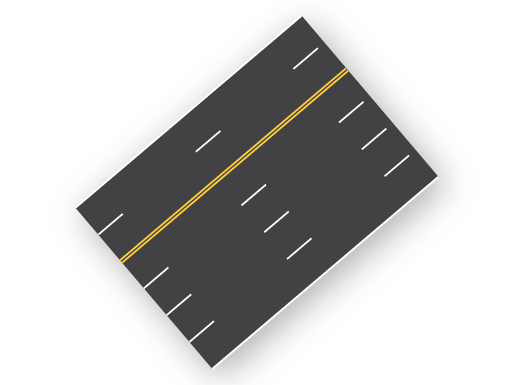
6 Lane (2+4 Dashed)
2+4 configuration with dashed lane markings
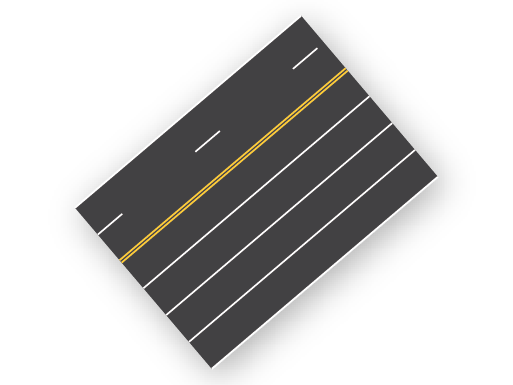
6 Lane (2+4 Solid)
2+4 configuration with solid lane markings
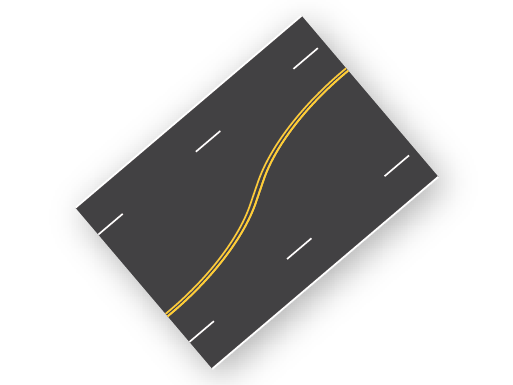
6 Lane (Swap 2+4)
Swap direction of 2+4 configuration
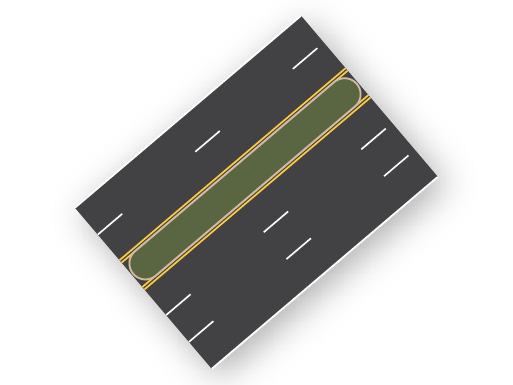
6 Lane (Median)
Asymmetrical grass median

6 Lane (Blank)
No pavement markings
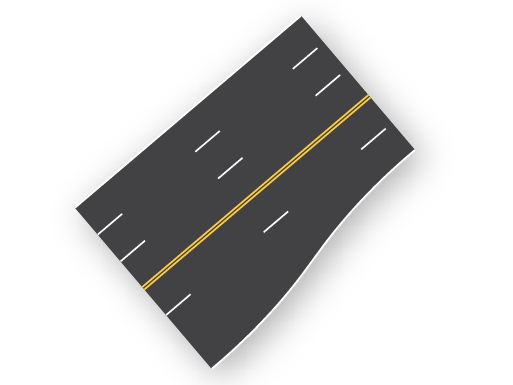
6 to 5 (End Right Lane)
Narrows from 6 to 5 lanes by ending the right lane (Requires manual adjustment)

Unprotected Bike Lane Overlay
Matches the width of unprotected bike lane. (5.5 ft) Place over any road segment
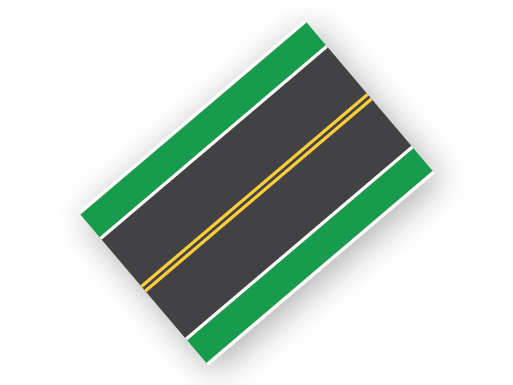
Unprotected 2 Lane
Double solid centerline
(Width of regular 3 lane road)

Unprotected 2 to 3
Transition from 2 to 3 lane road
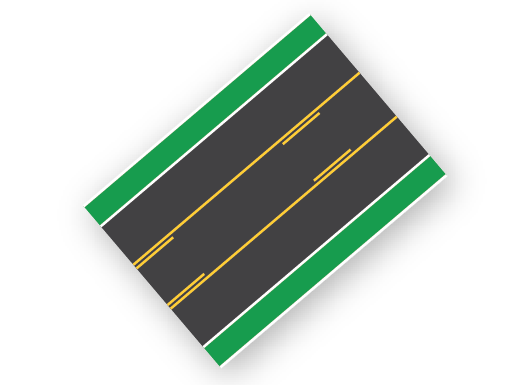
Unprotected 3 Lane (Turn Lane)
Center two way left turn lane
(Width of regular 4 lane road)
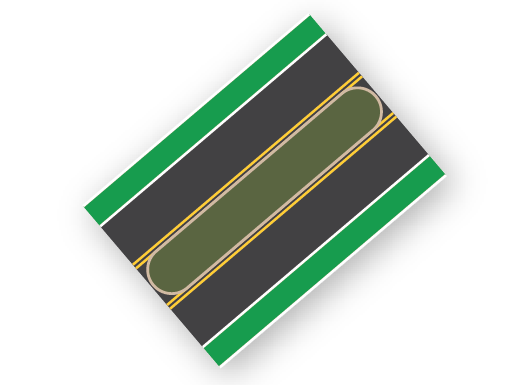
Unprotected 3 Lane (Median)
Center grass median
(Width of regular 4 lane road)
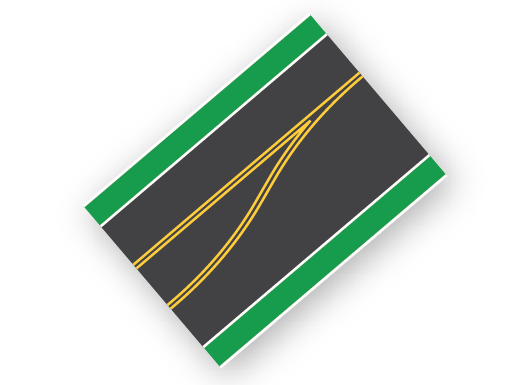
Unprotected 3 Lane (Begin 1+2)
Transition from center turn lane/median to 1+2 configuration
(Width of regular 4 lane road)
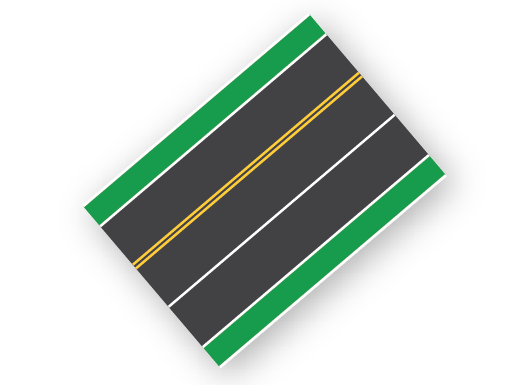
Unprotected 3 Lane (Solid)
1+2 configuration with solid lane marking
(Width of regular 4 lane road)
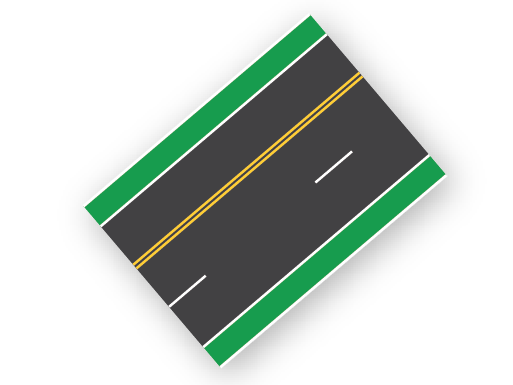
Unprotected 3 Lane (Dashed)
1+2 configuration with dashed lane marking
(Width of regular 4 lane road)
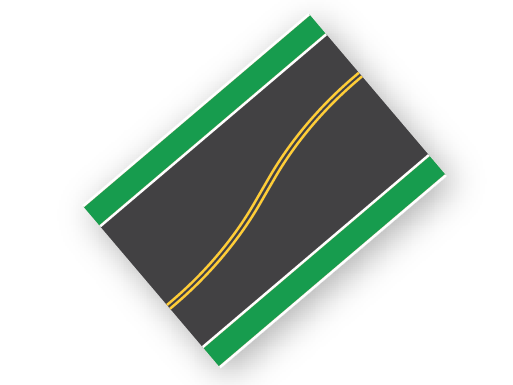
3 Lane (Swap 1+2)
Swap direction of 1+2 configuration
(Width of regular 4 lane road)

Unprotected/Protected Transition (2 Lane)
Transition between unprotected and protected bike lane
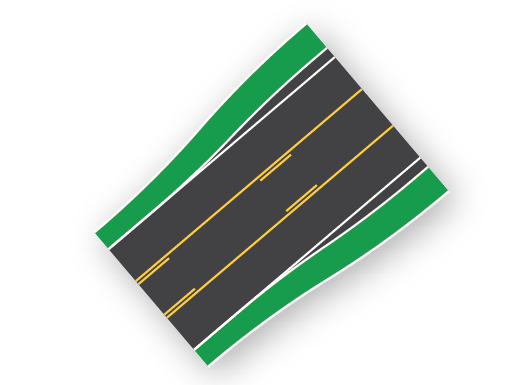
Unprotected/Protected Transition (3 Lane)
Transition between unprotected and protected bike lane

Protected Bike Lane Overlay
Matches the width of protected bike lane. (8 ft) Place over any road segment

Protected Bike Lane Overlay (Concrete)
Concrete-separated protected bike lane overlay. Place over any road segment
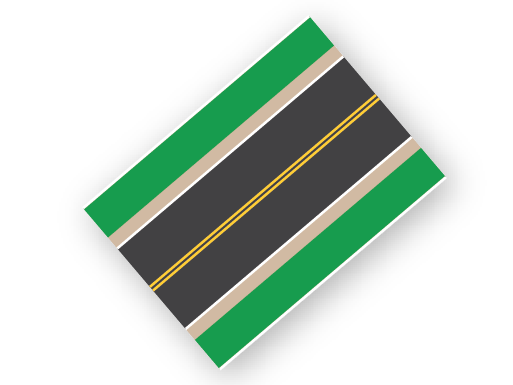
Protected 2 Lane
Double solid centerline
(Width of regular 4 lane road)
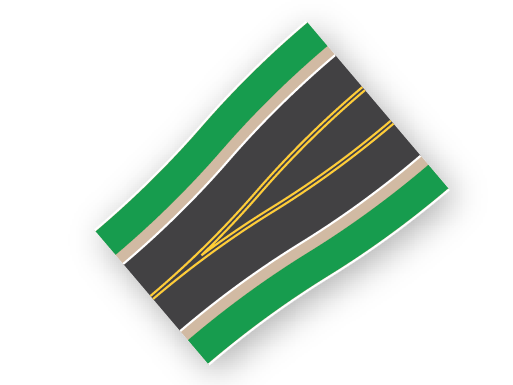
Protected 2 to 3
Transition from 2 to 3 lane road
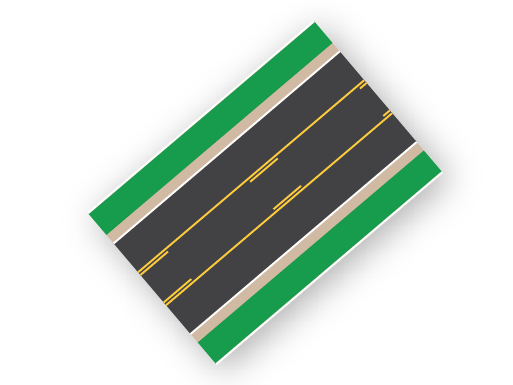
Protected 3 Lane (Turn Lane)
Center two way left turn lane
(Width of regular 5 lane road)
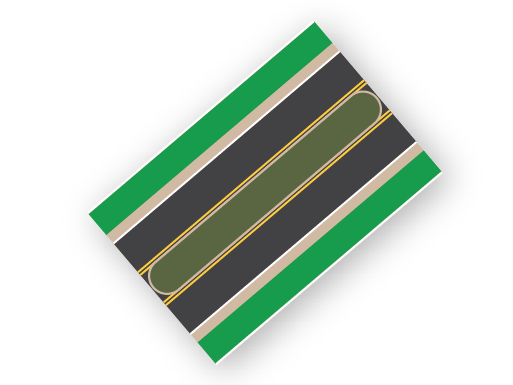
Protected 3 Lane (Median)
Center grass median
(Width of regular 5 lane road)
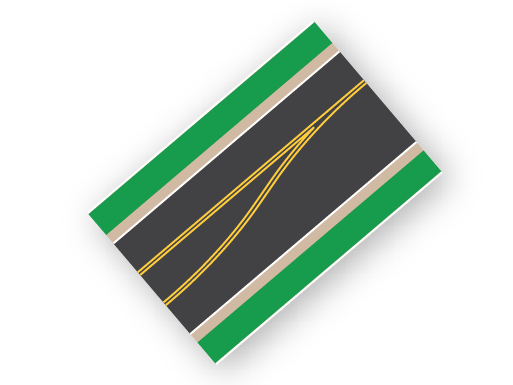
Protected 3 Lane (Begin 1+2)
Transition from center turn lane/median to 1+2 configuration
(Width of regular 5 lane road)
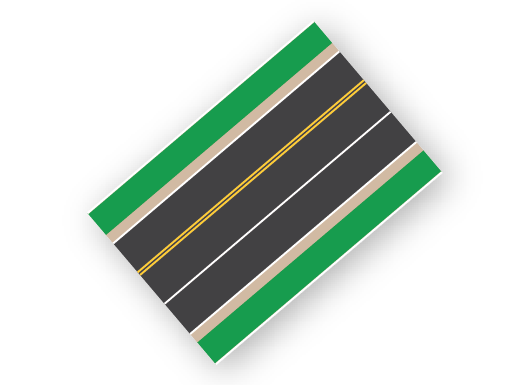
Protected 3 Lane (Solid)
1+2 configuration with solid lane marking
(Width of regular 5 lane road)
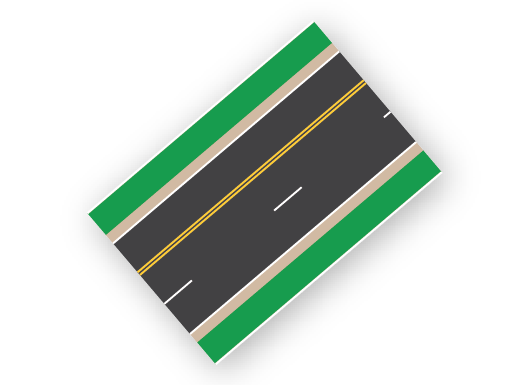
Protected 3 Lane (Dashed)
1+2 configuration with dashed lane marking
(Width of regular 5 lane road)
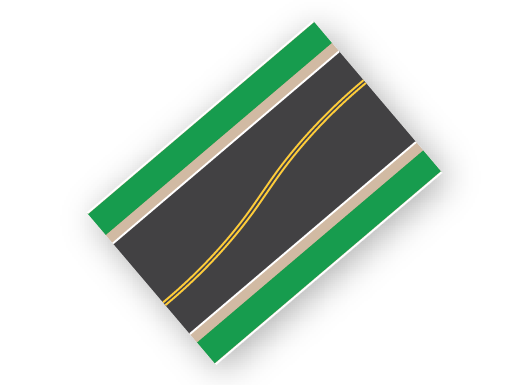
Protected 3 Lane (Swap 1+2)
Swap direction of 1+2 configuration
(Width of regular 4 lane road)

Protected 1 Lane One-Way (Left)
Protected bike lane on left side of 1 lane one-way road

Protected 1 Lane One-Way (Right)
Protected bike lane on right side of 1 lane one-way road
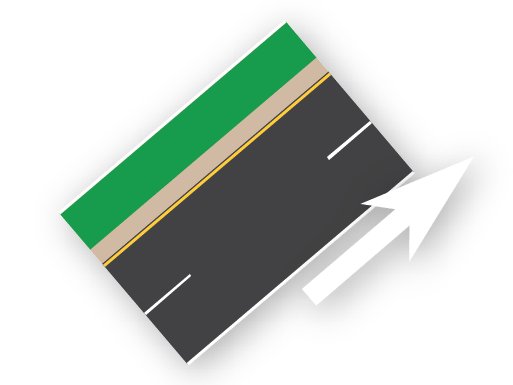
Protected 2 Lane One-Way (Left)
Protected bike lane on left side of 2 lane one-way road
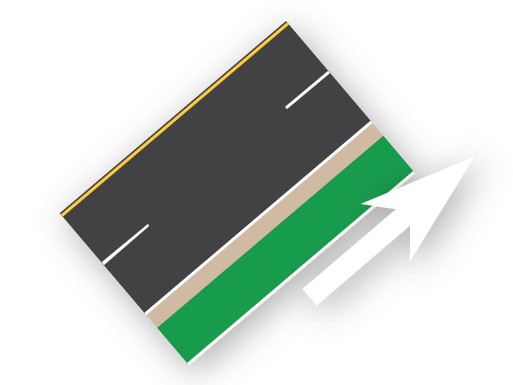
Protected 2 Lane One-Way (Right)
Protected bike lane on right side of 2 lane one-way road
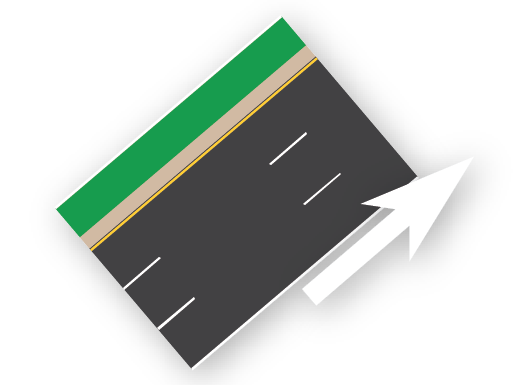
Protected 3 Lane One-Way (Left)
Protected bike lane on left side of 3 lane one-way road
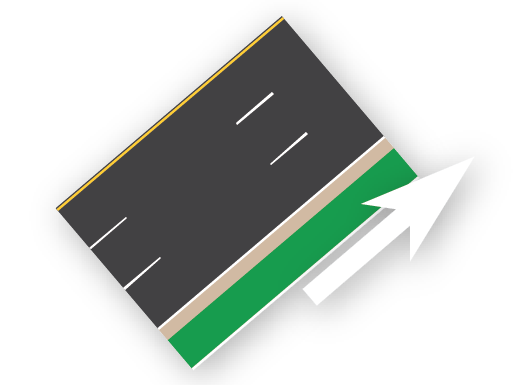
Protected 3 Lane One-Way (Right)
Protected bike lane on right side of 3 lane one-way road

2 Lane
Bus lane on 2 lane road

2 Lane One-Way (Left)
Left-side bus lane on 2 lane one-way road

2 Lane One-Way (Right)
Right-side bus lane on 2 lane one-way road

3 Lane
Bus lane on 3 lane road
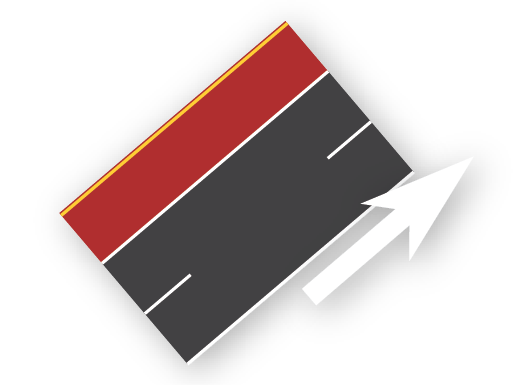
3 Lane One-Way (Left)
Left-side bus lane on 3 lane one-way road
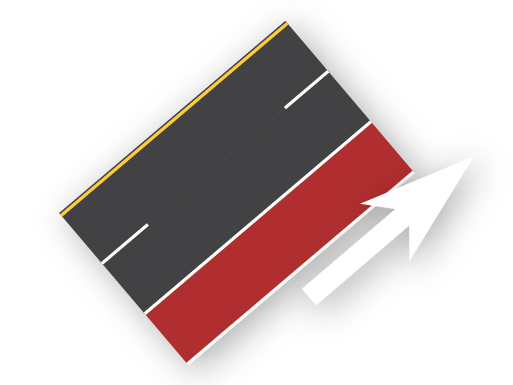
3 Lane One-Way (Right)
Right-side bus lane on 3 lane one-way road

4 Lane (Inside)
Inside bus lane on 4 lane road
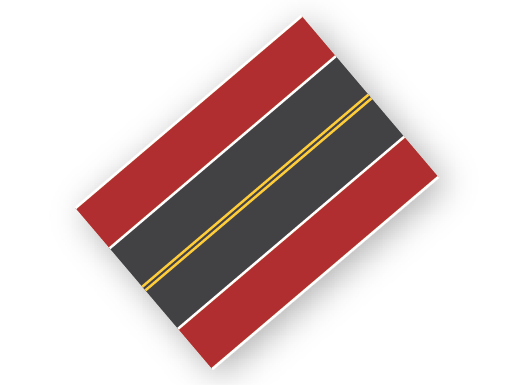
4 Lane (Outside)
Outside bus lane on 4 lane road
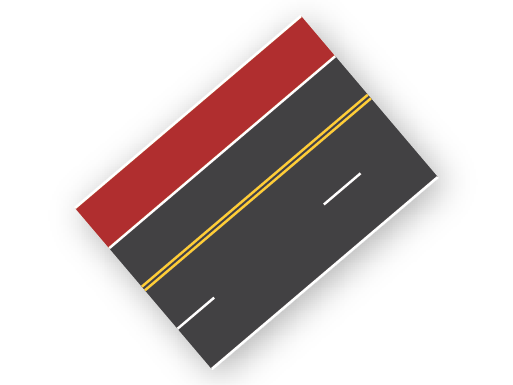
4 Lane (Asymmetrical)
Asymmetrical bus lane on 4 lane road
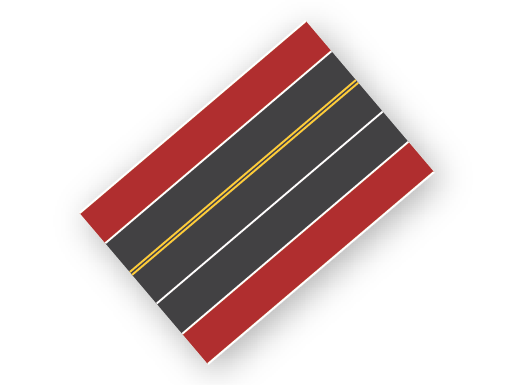
5 Lane
Bus lane on 5 lane road
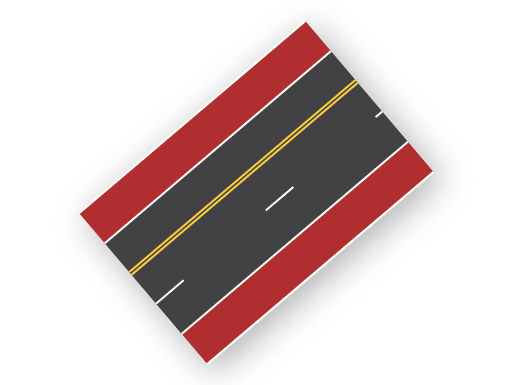
5 Lane (Dashed)
Bus lane on 5 lane road with dashed centerline
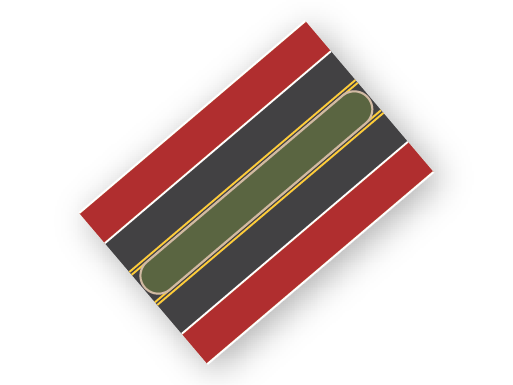
5 Lane (Median)
Bus lane on 5 lane road with raised median
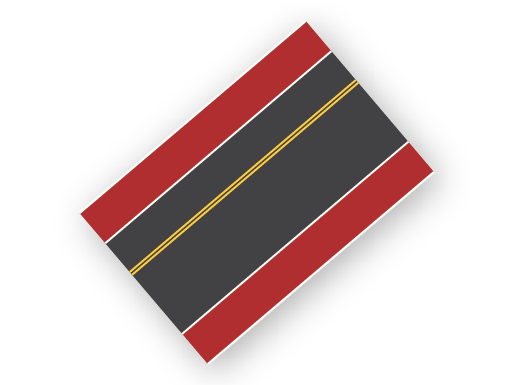
5 Lane (Open)
Bus lane on 5 lane road with open centerline
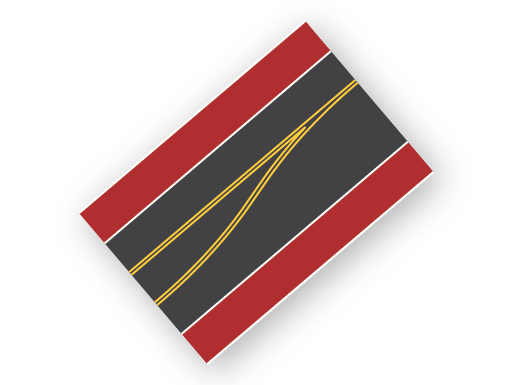
5 Lane (Begin 1+2)
Bus lane on 5 lane road — 1+2 split begins
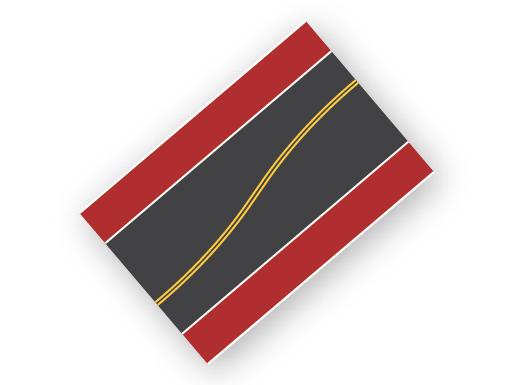
5 Lane (Swap 1+2)
Bus lane on 5 lane road — center lane direction swap
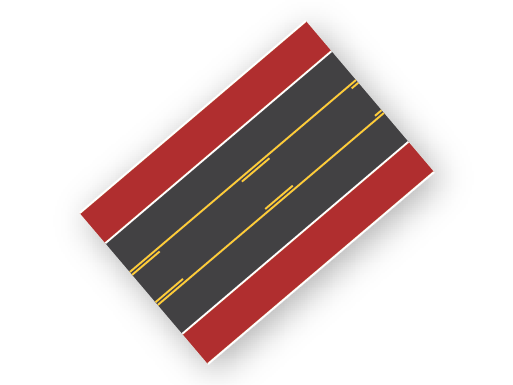
5 Lane (Turn Lane)
Bus lane on 5 lane road with center turn lane
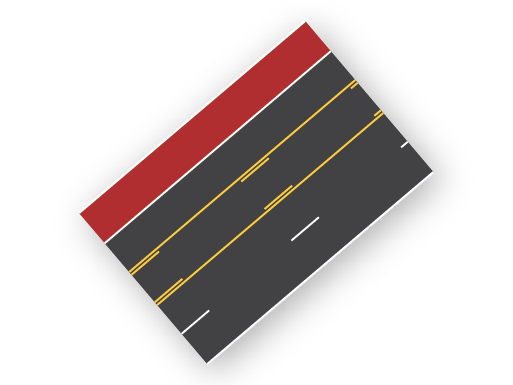
5 Lane (Asymmetrical)
Asymmetrical bus lane on 5 lane road

Bus Lane Overlay
Bus lane overlay — place over any road segment
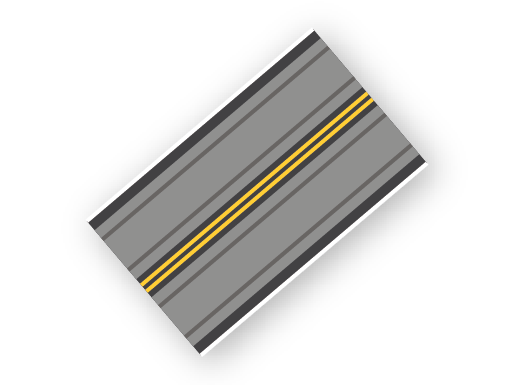
2 Lane
Light rail on 2 lane road
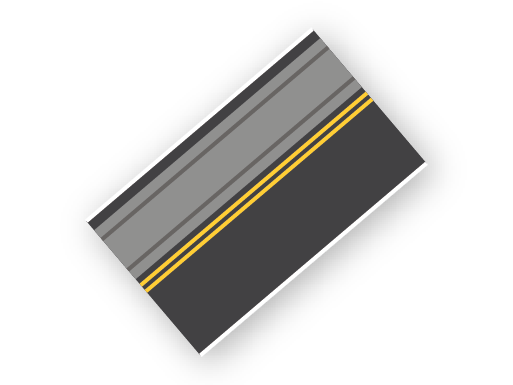
2 Lane (Asymmetrical)
Asymmetrical light rail on 2 lane road

2 Lane One-Way (Left)
Left-side light rail on 2 lane one-way road

2 Lane One-Way (Right)
Right-side light rail on 2 lane one-way road
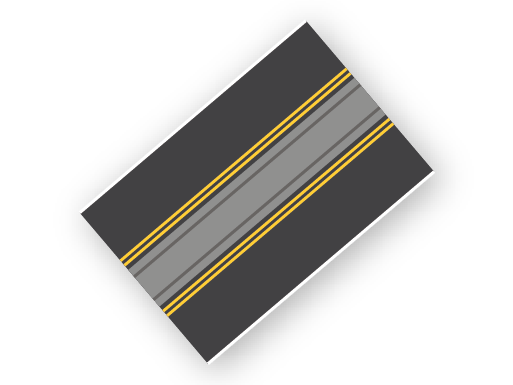
3 Lane (Median)
Light rail in median of 3 lane road
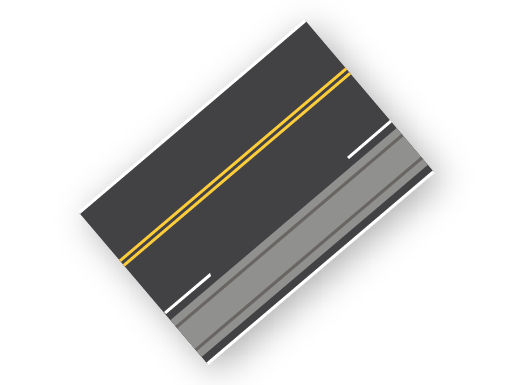
3 Lane (Asymmetrical)
Asymmetrical light rail on 3 lane road
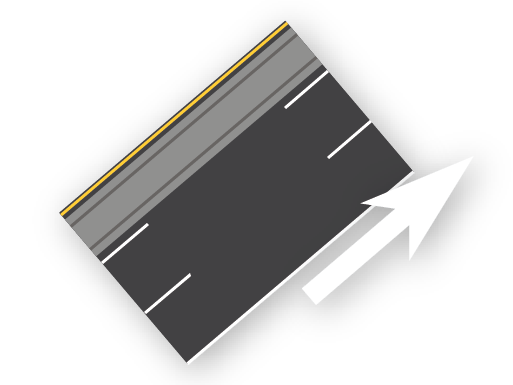
3 Lane One-Way (Left)
Left-side light rail on 3 lane one-way road
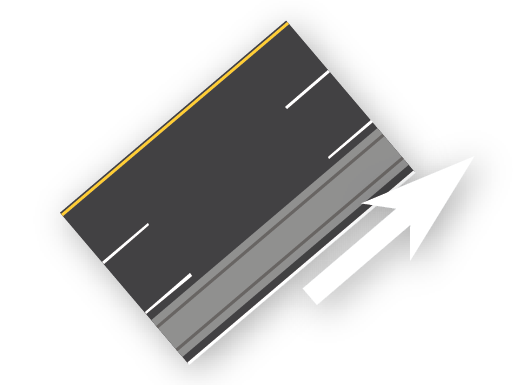
3 Lane One-Way (Right)
Right-side light rail on 3 lane one-way road
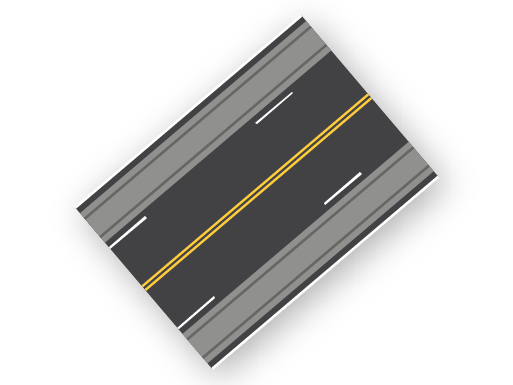
4 Lane (Dashed)
Light rail on 4 lane road with dashed centerline
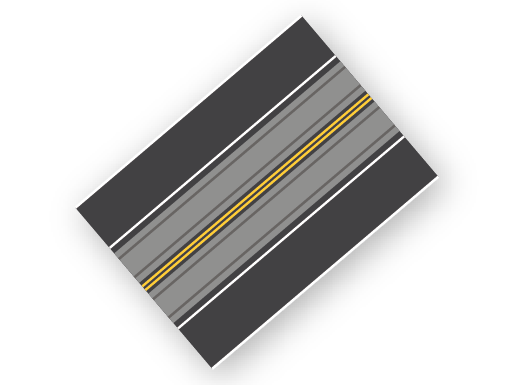
4 Lane (Inside)
Inside light rail on 4 lane road
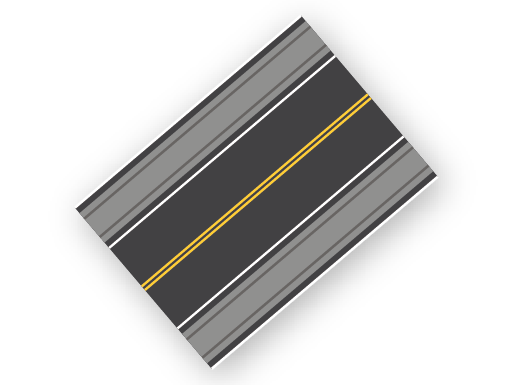
4 Lane (Outside)
Outside light rail on 4 lane road
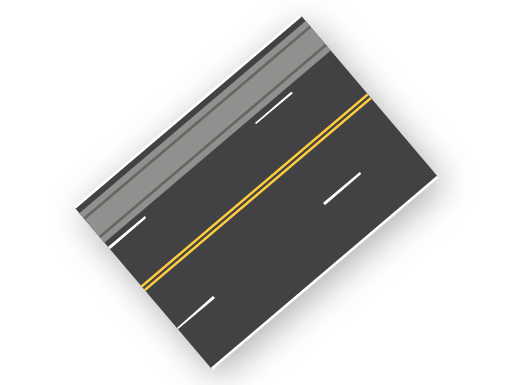
4 Lane (Asymmetrical)
Asymmetrical light rail on 4 lane road
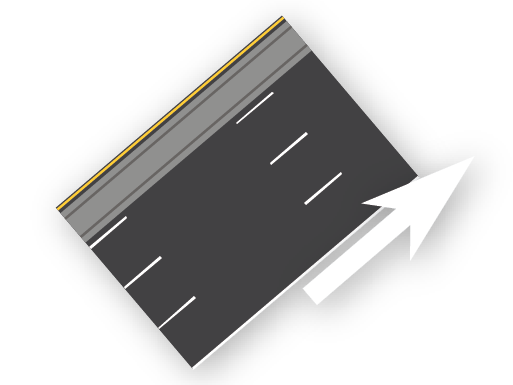
4 Lane One-Way (Left)
Left-side light rail on 4 lane one-way road
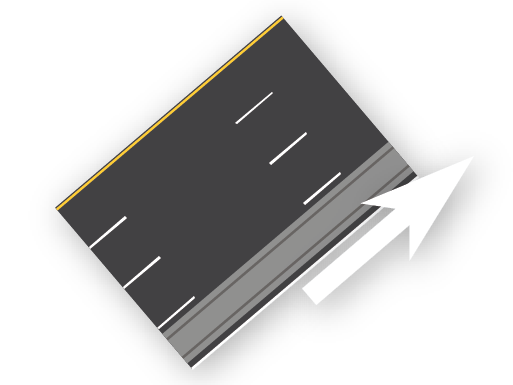
4 Lane One-Way (Right)
Right-side light rail on 4 lane one-way road
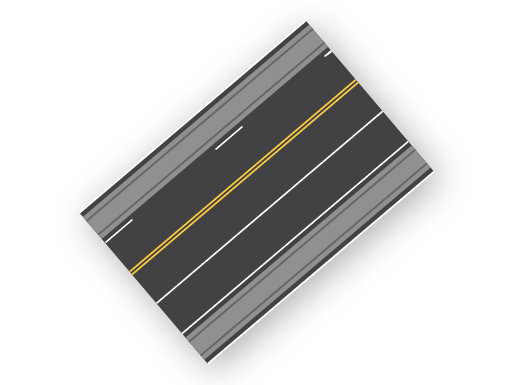
5 Lane
Light rail on 5 lane road
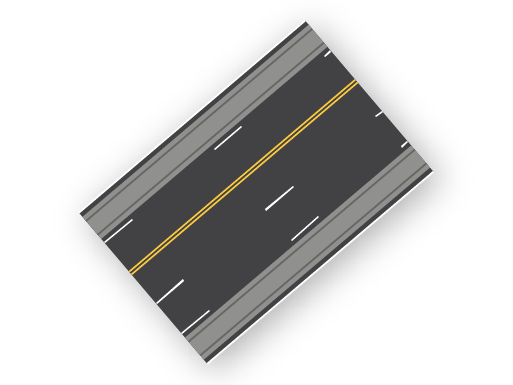
5 Lane (Dashed)
Light rail on 5 lane road with dashed centerline
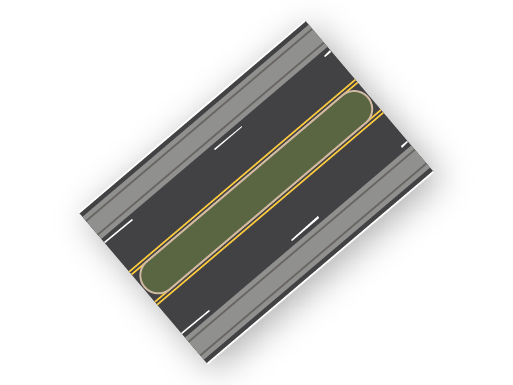
5 Lane (Median)
Light rail in median of 5 lane road
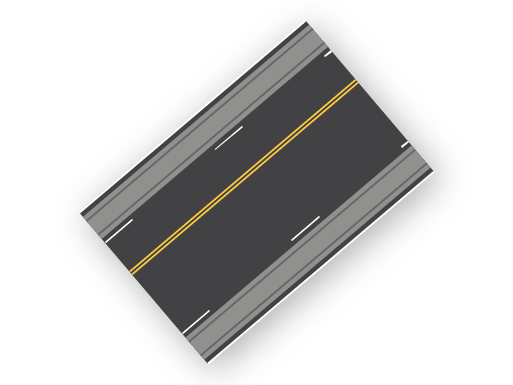
5 Lane (Open)
Light rail on 5 lane road with open centerline
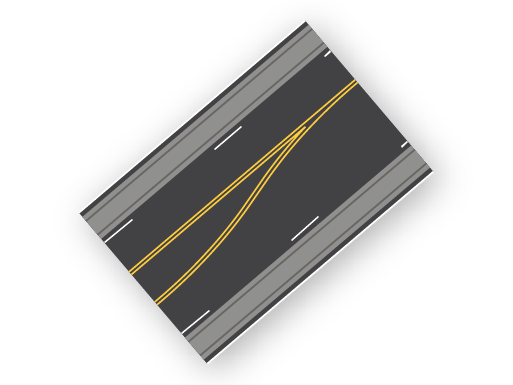
5 Lane (Begin 1+3)
Light rail on 5 lane road — 1+3 split begins
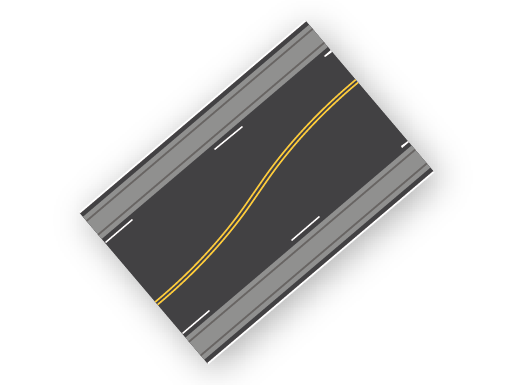
5 Lane (Swap 1+3)
Light rail on 5 lane road — center lane direction swap
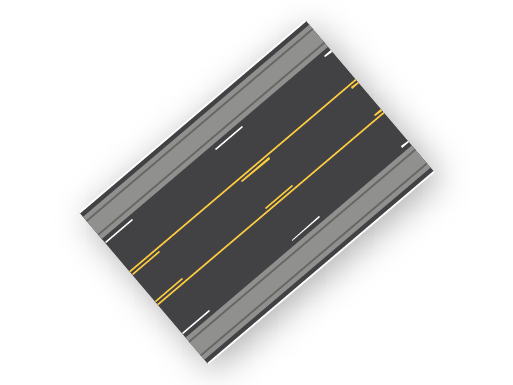
5 Lane (Turn Lane)
Light rail on 5 lane road with center turn lane
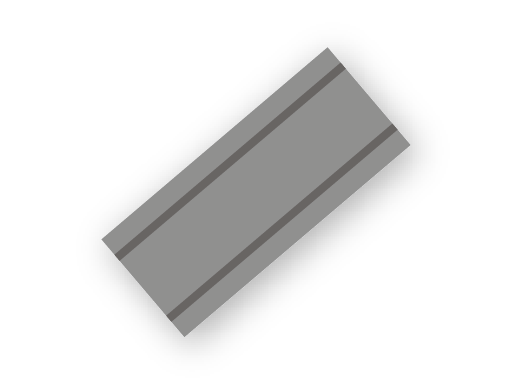
Single Track
Single light rail track — use standalone or overlay on roads
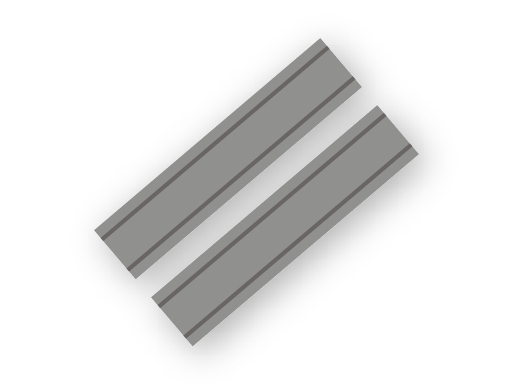
Double Track
Double light rail track — use standalone or overlay on roads
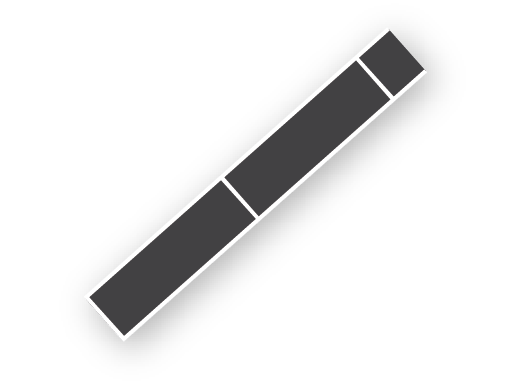
Parking Lane (Overlay)
On-street parking overlay — place over any road segment

2 Lane (Begin/End)
2 lane road — on-street parking begins/ends
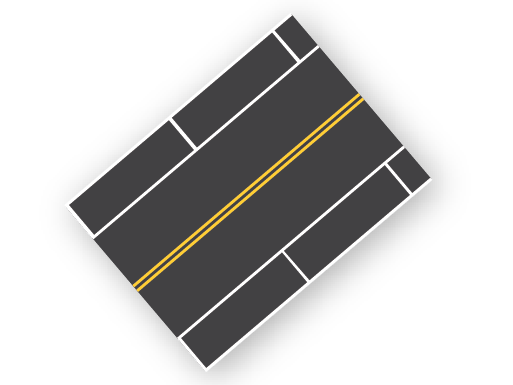
2 Lane
2 lane road with on-street parking

2 Lane (Blank)
2 lane road with on-street parking and no pavement markings

2 Lane to 3 Lane
Widens from 2 to 3 lanes as the parking lane becomes a travel lane
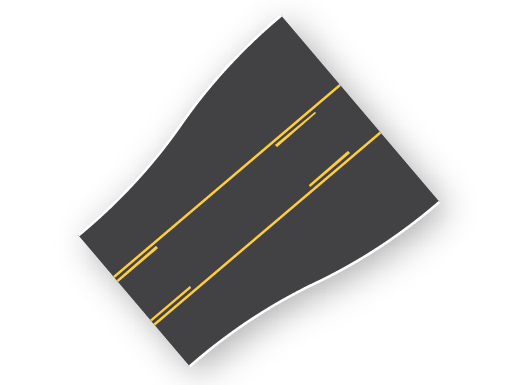
3 Lane (Begin/End)
3 lane road — on-street parking begins/ends
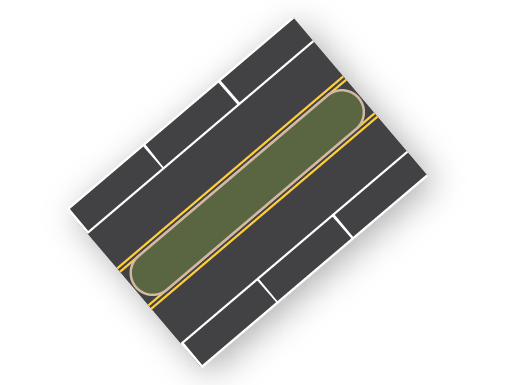
3 Lane (Median)
3 lane road with center median and on-street parking
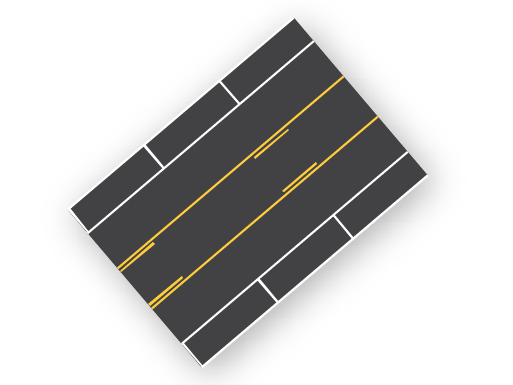
3 Lane (Turn Lane)
3 lane road with center turn lane and on-street parking
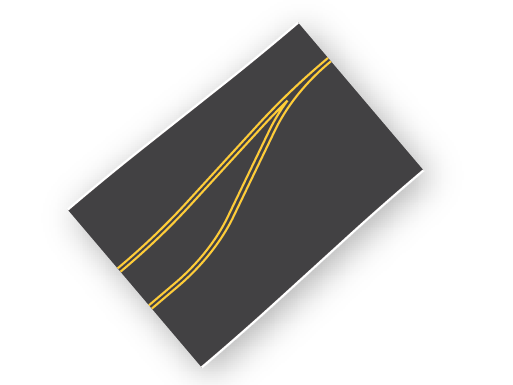
3 Lane to 4 Lane
Widens from 3 to 4 lanes as the parking lane becomes a travel lane
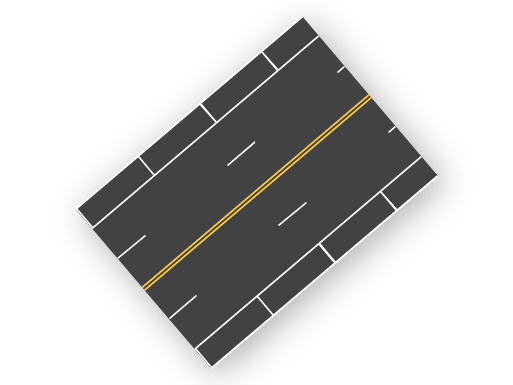
4 Lane
4 lane road with on-street parking
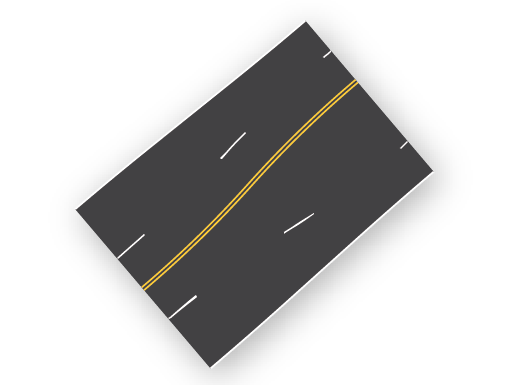
4 Lane to 5 Lane
Widens from 4 to 5 lanes as the parking lane becomes a travel lane
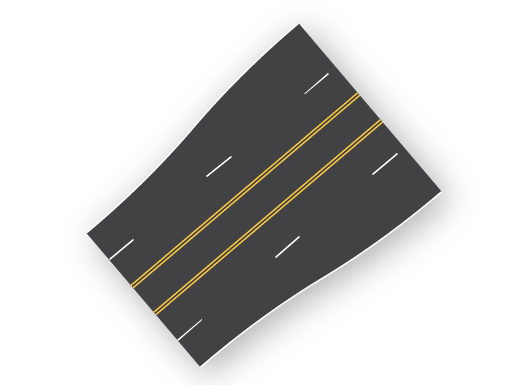
5 Lane (Begin/End)
5 lane road — on-street parking begins/ends
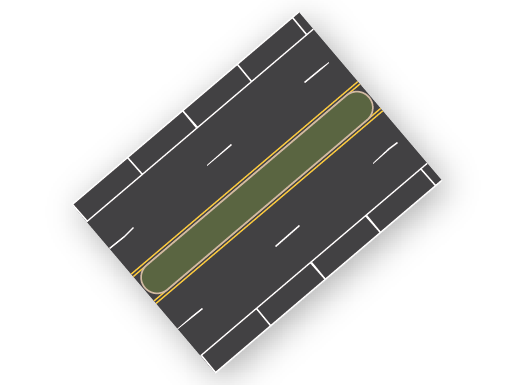
5 Lane (Median)
5 lane road with center median and on-street parking
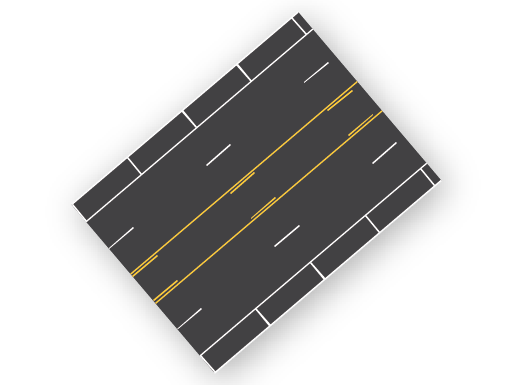
5 Lane (Turn Lane)
5 lane road with center turn lane and on-street parking
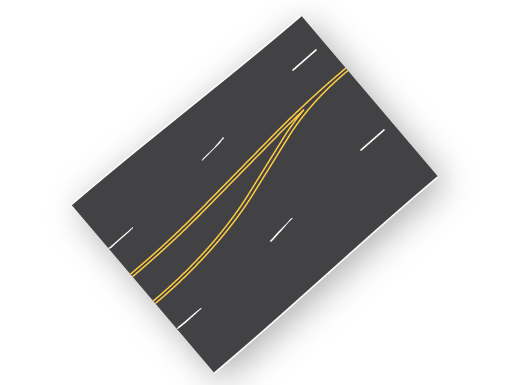
5 Lane to 6 Lane
Widens from 5 to 6 lanes as the parking lane becomes a travel lane

1 Lane (Begin/End)
1 lane one-way road — on-street parking begins/ends
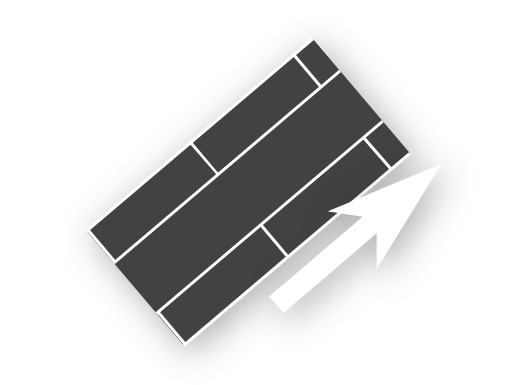
1 Lane
1 lane one-way road with on-street parking

1 Lane to 2 Lane
Widens from 1 to 2 lanes as the parking lane becomes a travel lane
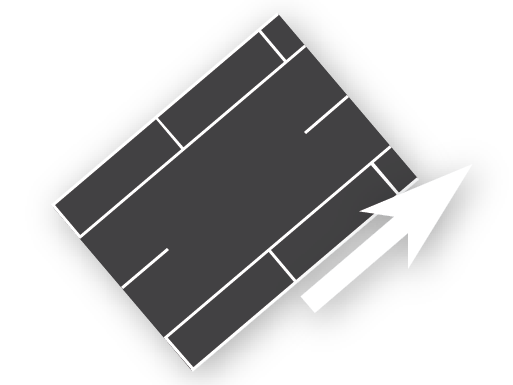
2 Lane
2 lane one-way road with on-street parking

2 Lane (Begin/End)
2 lane one-way road — on-street parking begins/ends
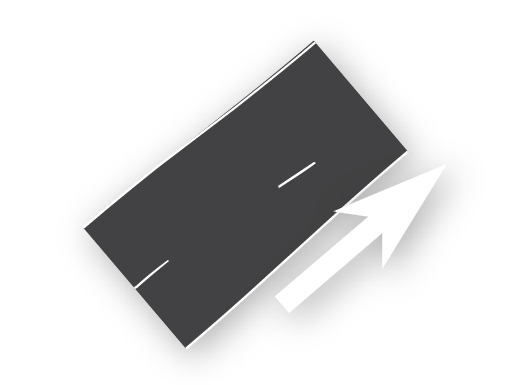
2 Lane (Parking) to 3 Lane (No Parking) (Add Left Lane)
Removes on-street parking and adds a left lane
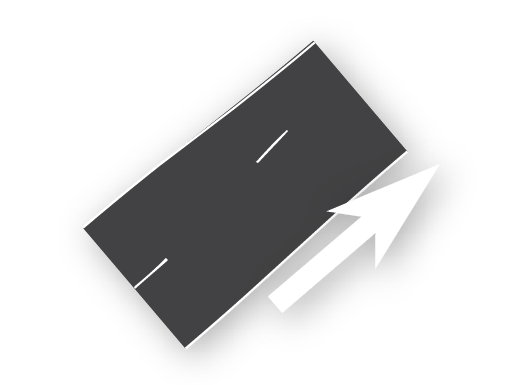
2 Lane (Parking) to 3 Lane (No Parking) (Add Right Lane)
Removes on-street parking and adds a right lane

3 Lane (Begin/End)
3 lane one-way road — on-street parking begins/ends
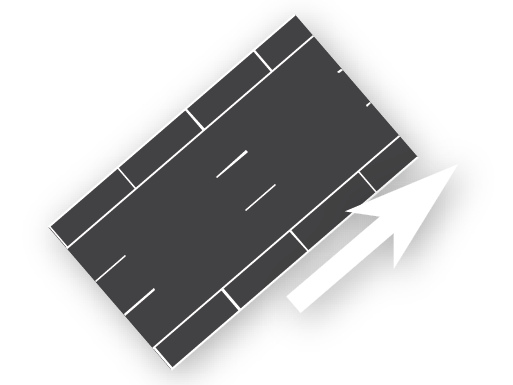
3 Lane
3 lane one-way road with on-street parking
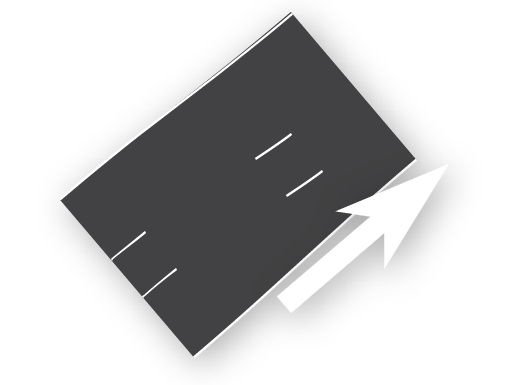
3 Lane (Parking) to 4 Lane (No Parking) (Add Left Lane)
Removes on-street parking and adds a left lane
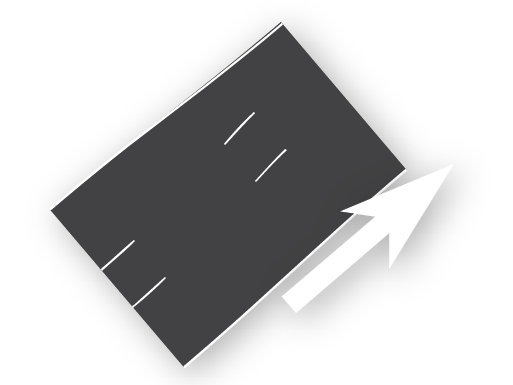
3 Lane (Parking) to 4 Lane (No Parking) (Add Right Lane)
Removes on-street parking and adds a right lane

4 Lane (Begin/End)
4 lane one-way road — on-street parking begins/ends
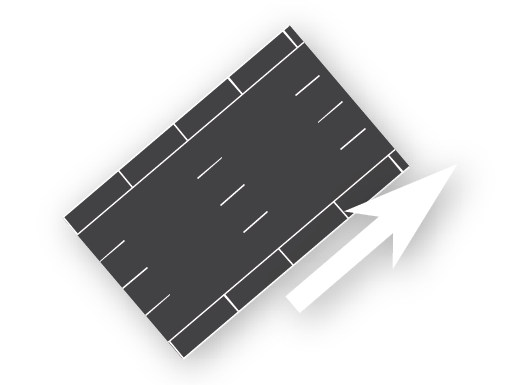
4 Lane
4 lane one-way road with on-street parking
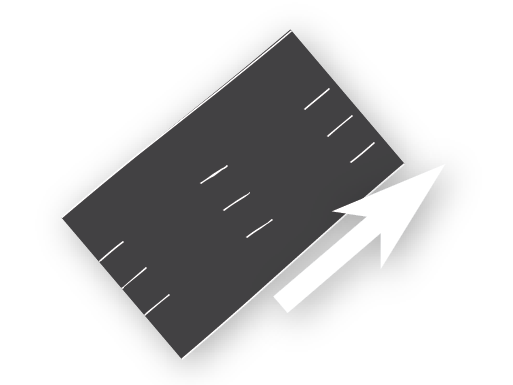
4 Lane (Parking) to 5 Lane (No Parking) (Add Left Lane)
Removes on-street parking and adds a left lane
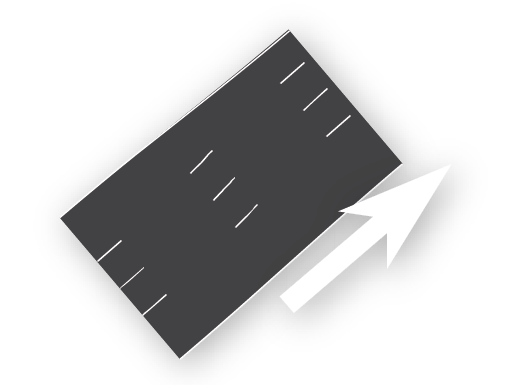
4 Lane (Parking) to 5 Lane (No Parking) (Add Right Lane)
Removes on-street parking and adds a right lane
One-Way Roads

1 Lane
Standard 1 lane one-way road

1 Lane (White)
1 lane one-way road with white edge lines

1 to 2
Widens from 1 to 2 lanes

1 to 2 (Add Left Lane)
Widens from 1 to 2 lanes by adding a left lane (Requires manual adjustment)

1 to 2 (Add Right Lane)
Widens from 1 to 2 lanes by adding a right lane (Requires manual adjustment)

2 Lane
Standard 2 lane one-way road with dashed lane marking

2 Lane (Solid)
2 lane one-way road with solid lane marking
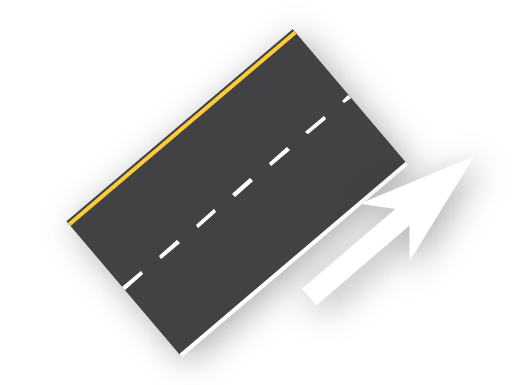
2 Lane (Dotted)
2 lane one-way road with dotted lane marking

2 Lane (Blank)
2 lane one-way road with no pavement markings

2 to 3 (Add Left Lane)
Widens from 2 to 3 lanes by adding a left lane (Requires manual adjustment)

2 to 3 (Add Right Lane)
Widens from 2 to 3 lanes by adding a right lane (Requires manual adjustment)

2 to 4
Widens from 2 to 4 lanes

2 to 1
Narrows from 2 to 1 lane

2 to 1 (End Left Lane)
Narrows 2 to 1 lane by ending the left lane (Requires manual adjustment)

2 to 1 (End Right Lane)
Narrows 2 to 1 lane by ending the right lane (Requires manual adjustment)
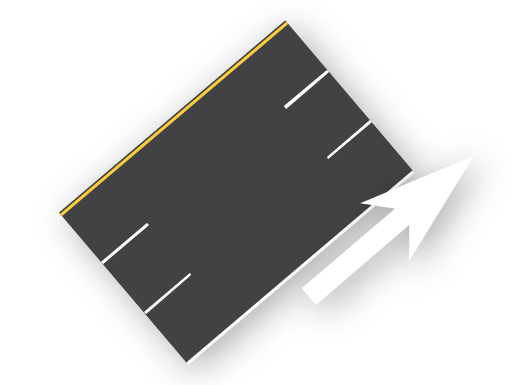
3 Lane
Standard 3 lane one-way road with dashed lane markings

3 Lane (Solid)
3 lane one-way road with solid lane markings
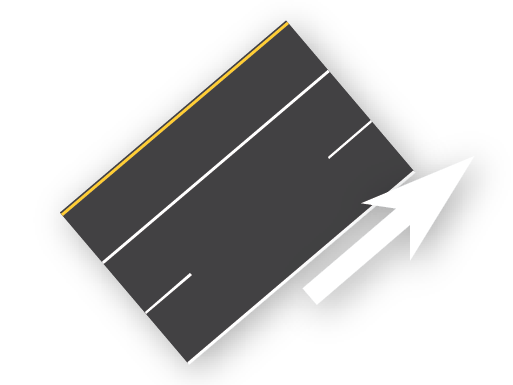
3 Lane (Left Solid)
3 lane one-way road with left solid lane marking
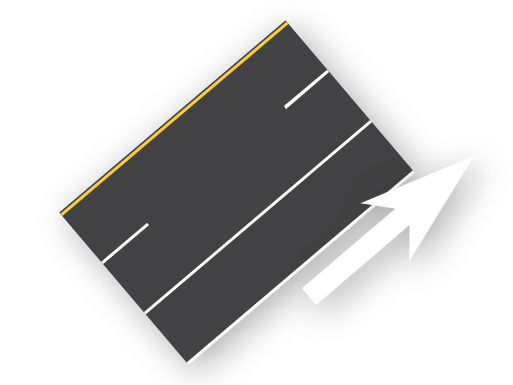
3 Lane (Right Solid)
3 lane one-way road with right solid lane marking
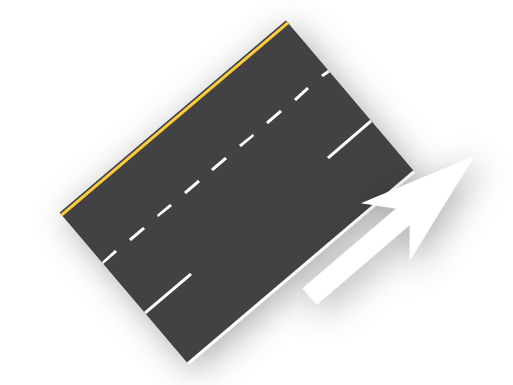
3 Lane (Left Dotted)
3 lane one-way road with left dotted lane marking
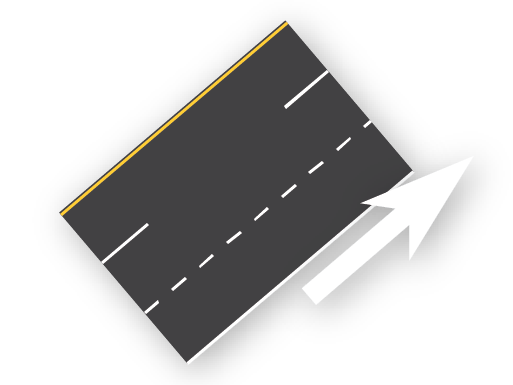
3 Lane (Right Dotted)
3 lane one-way road with right dotted lane marking

3 Lane (Blank)
3 lane one-way road with no pavement markings
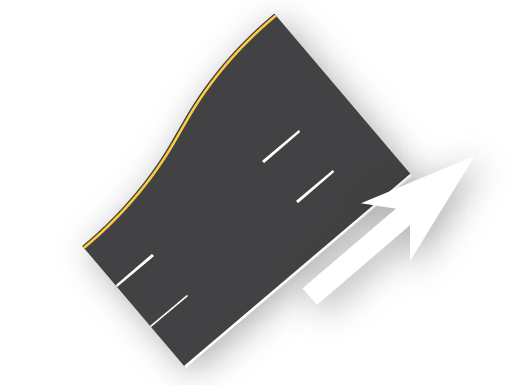
3 to 4 (Add Left Lane)
Widens from 3 to 4 lanes by adding a left lane (Requires manual adjustment)
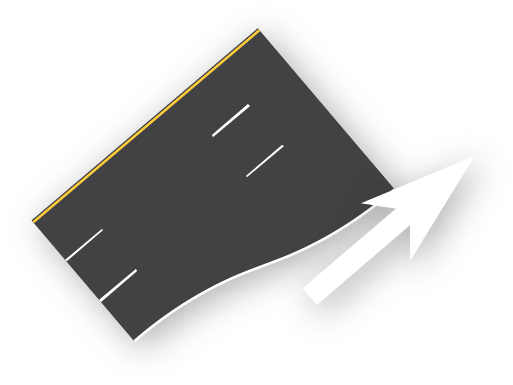
3 to 4 (Add Right Lane)
Widens from 3 to 4 lanes by adding a right lane (Requires manual adjustment)

3 to 5
Widens from 3 to 5 lanes
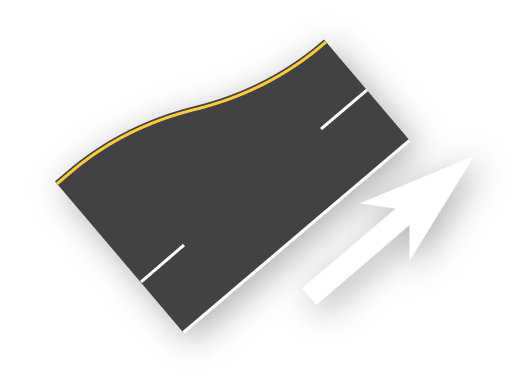
3 to 2 (End Left Lane)
Narrows 3 to 2 lanes by ending the left lane (Requires manual adjustment)

3 to 2 (End Right Lane)
Narrows 3 to 2 lanes by ending the right lane (Requires manual adjustment)
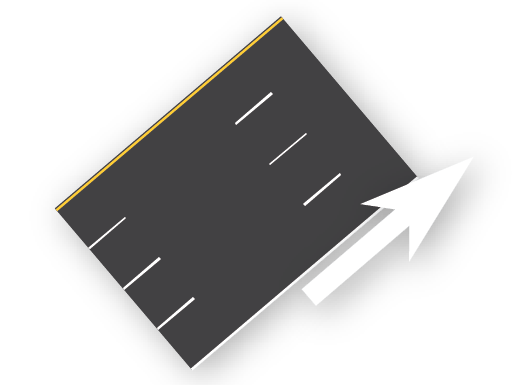
4 Lane
Standard 4 lane one-way road with dashed lane markings

4 Lane (Solid)
4 lane one-way road with solid lane markings
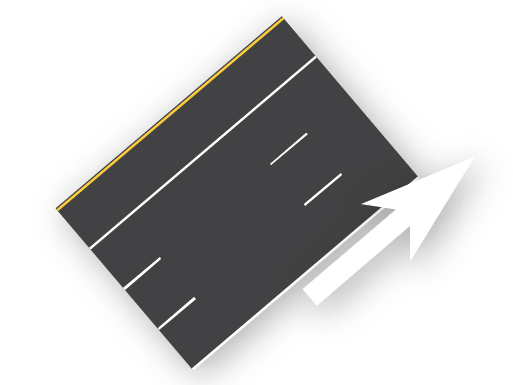
4 Lane (Left Solid)
4 lane one-way road with left solid lane marking
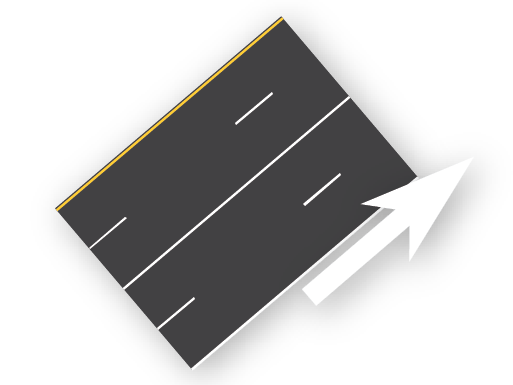
4 Lane (Middle Solid)
4 lane one-way road with middle solid lane marking
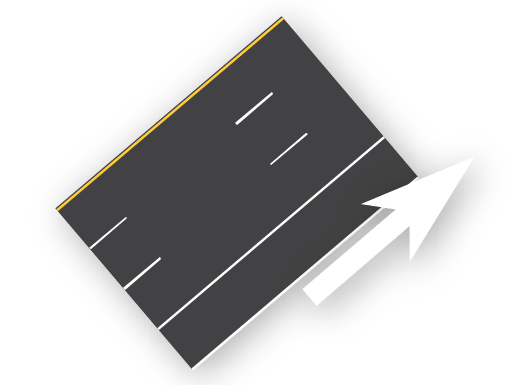
4 Lane (Right Solid)
4 lane one-way road with right solid lane marking
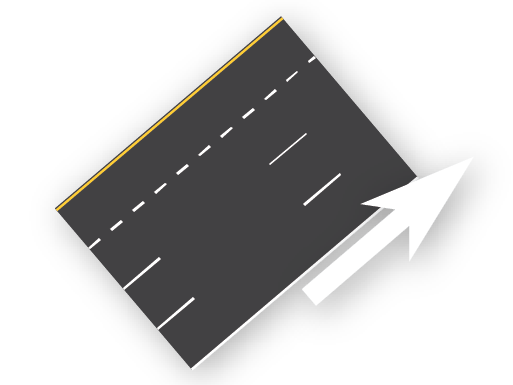
4 Lane (Left Dotted)
4 lane one-way road with left dotted lane marking
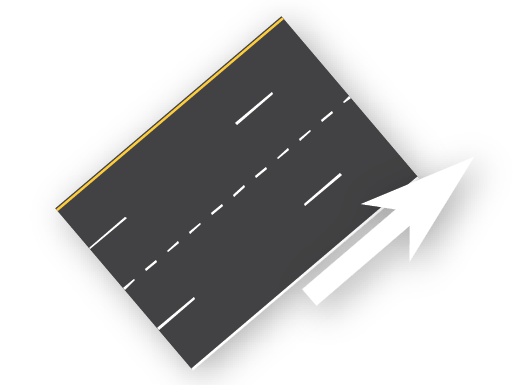
4 Lane (Middle Dotted)
4 lane one-way road with middle dotted lane marking
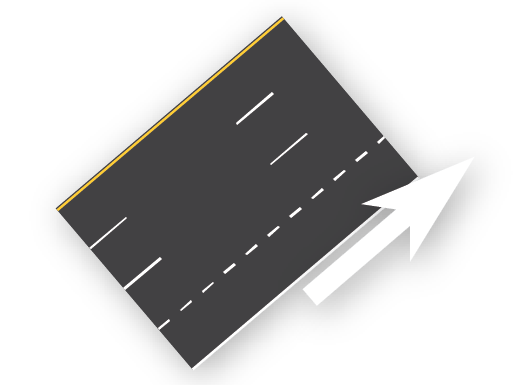
4 Lane (Right Dotted)
4 lane one-way road with right dotted lane marking

4 Lane (Blank)
4 lane one-way road with no pavement markings
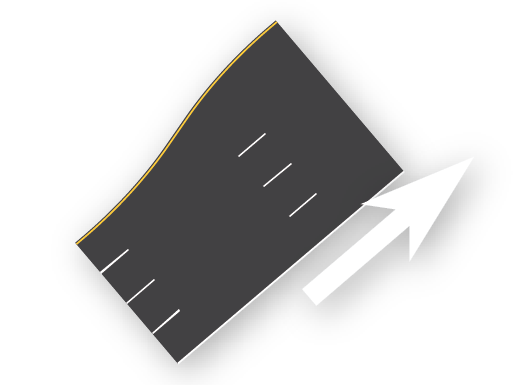
4 to 5 (Add Left Lane)
Widens from 4 to 5 lanes by adding a left lane (Requires manual adjustment)
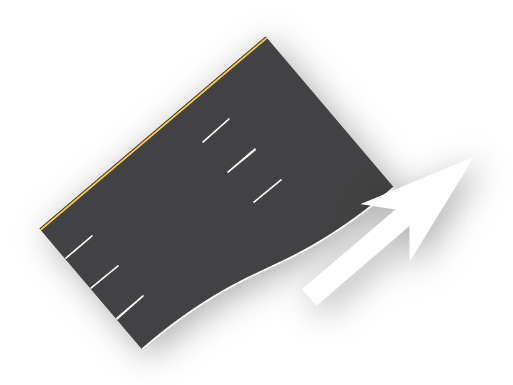
4 to 5 (Add Right Lane)
Widens from 4 to 5 lanes by adding a right lane (Requires manual adjustment)
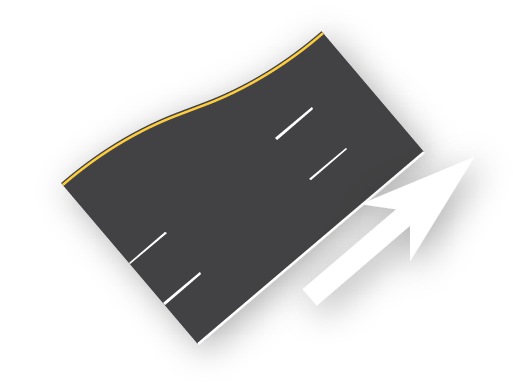
4 to 3 (End Left Lane)
Narrows 4 to 3 lanes by ending the left lane (Requires manual adjustment)
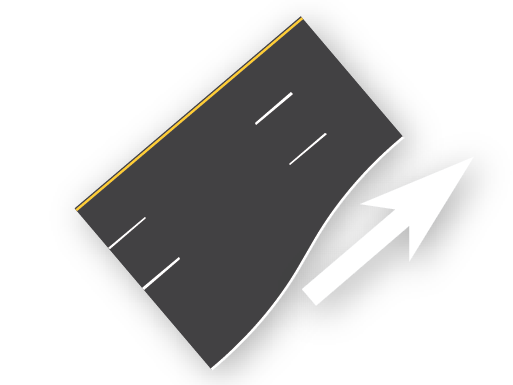
4 to 3 (End Right Lane)
Narrows 4 to 3 lanes by ending the right lane (Requires manual adjustment)
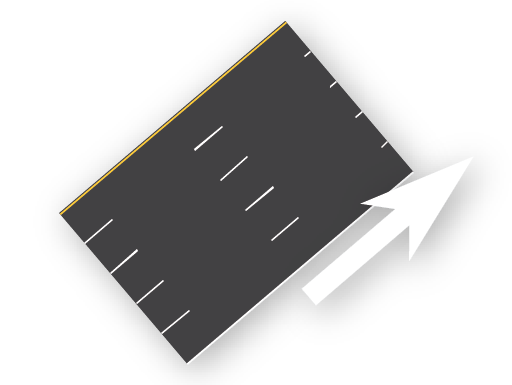
5 Lane
Standard 5 lane one-way road with dashed lane markings

5 Lane (Solid)
5 lane one-way road with solid lane markings
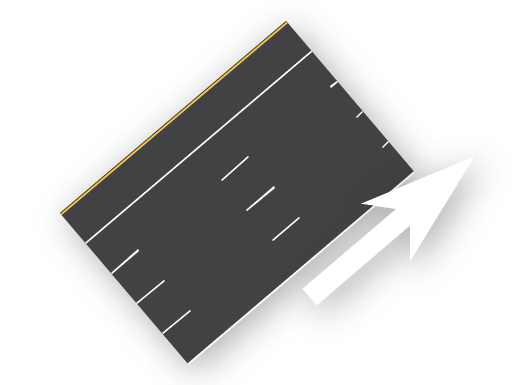
5 Lane (Left Solid)
5 lane one-way road with left solid lane marking
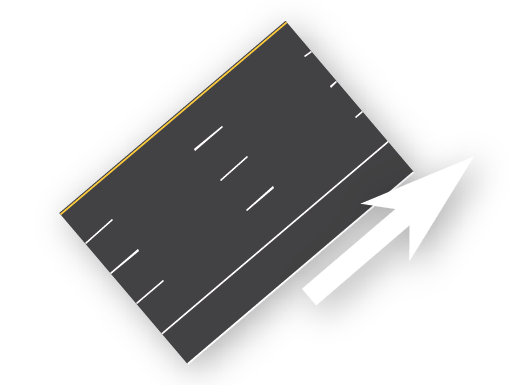
5 Lane (Right Solid)
5 lane one-way road with right solid lane marking
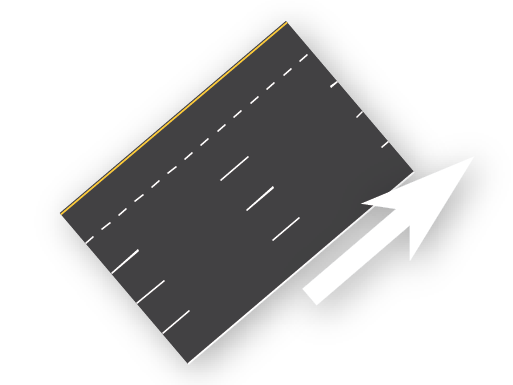
5 Lane (Left Dotted)
5 lane one-way road with left dotted lane marking
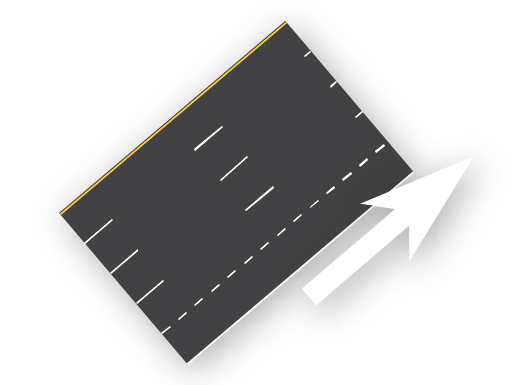
5 Lane (Right Dotted)
5 lane one-way road with right dotted lane marking

5 Lane (Blank)
5 lane one-way road with no pavement markings
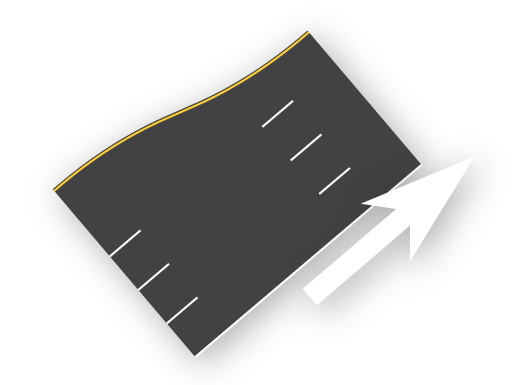
5 to 4 (End Left Lane)
Narrows 5 to 4 lanes by ending the left lane (Requires manual adjustment)
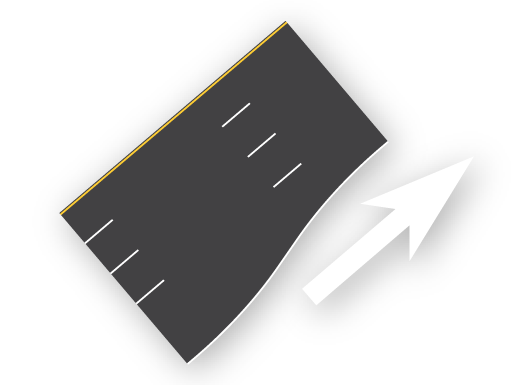
5 to 4 (End Right Lane)
Narrows 5 to 4 lanes by ending the right lane (Requires manual adjustment)
Sidewalks + Paths
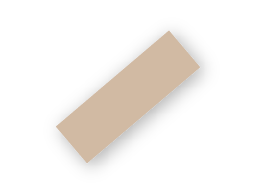
Sidewalk
6 ft wide sidewalk

Sidewalk (Wide)
11 ft wide sidewalk

Shared Use Path
Shared use path with solid centerline
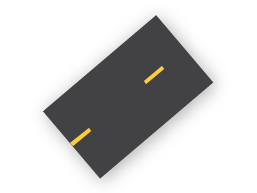
Shared Use Path (Dashed)
Shared use path with dashed centerline

Shared Use Path (Blank)
Shared use path with no pavement markings
Intersections
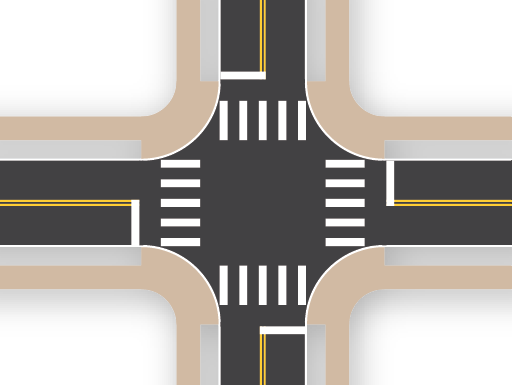
2×2 Intersection
2 lane road crossing a 2 lane road
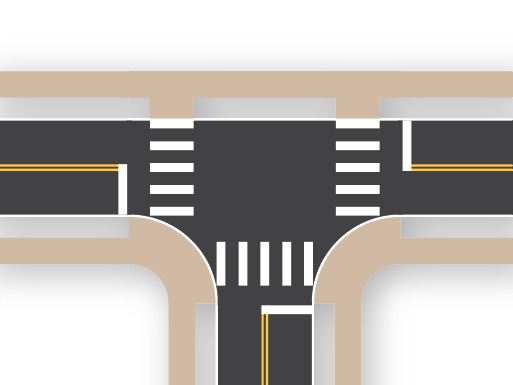
2×2 Intersection (3 Leg)
T-intersection: 2 lane × 2 lane
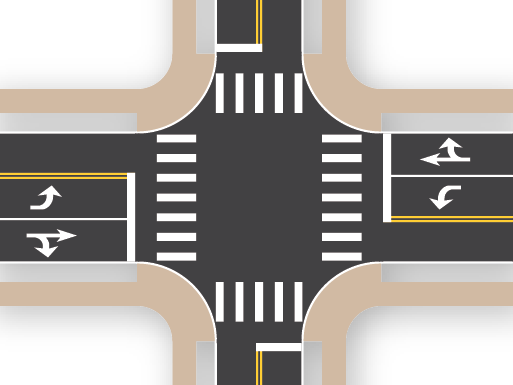
2×3 Intersection
2 lane road crossing a 3 lane road
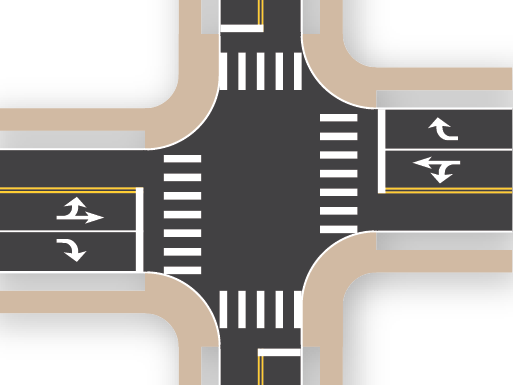
2×3 Intersection (Offset)
2 lane × 3 lane offset intersection
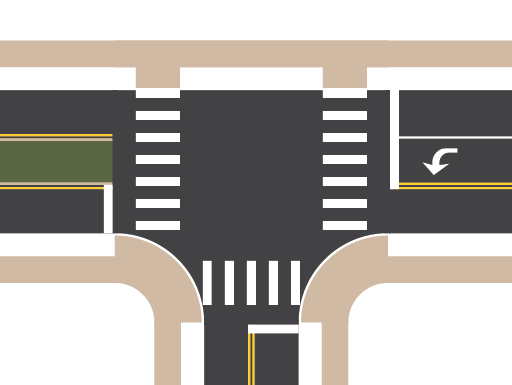
2×3 Intersection (3 Leg)
T-intersection: 2 lane × 3 lane
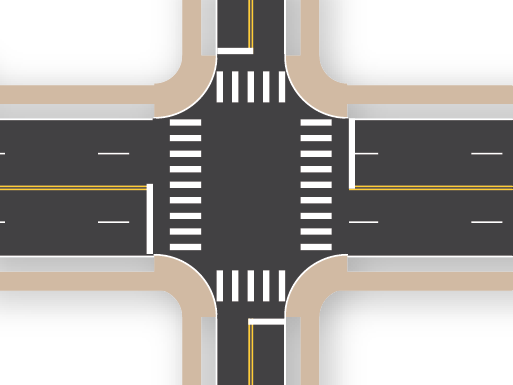
2×4 Intersection
2 lane road crossing a 4 lane road
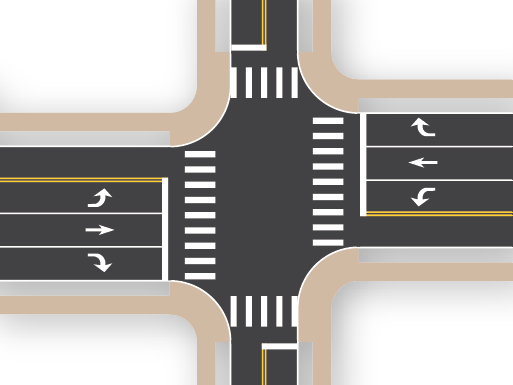
2×4 Intersection (Offset)
2 lane × 4 lane offset intersection
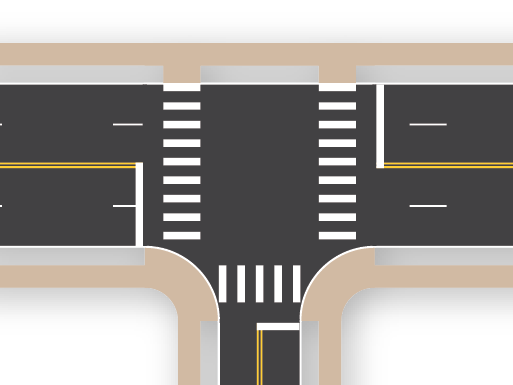
2×4 Intersection (3 Leg)
T-intersection: 2 lane × 4 lane
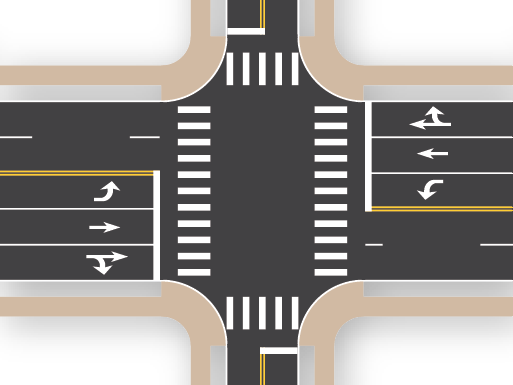
2×5 Intersection
2 lane road crossing a 5 lane road
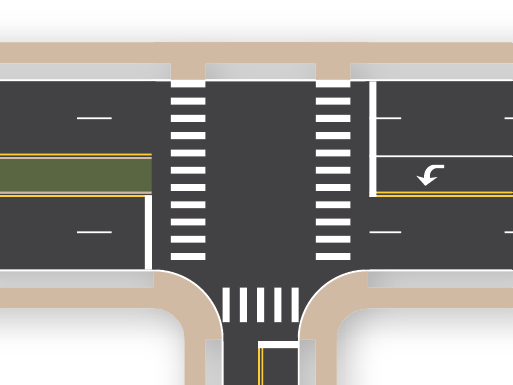
2×5 Intersection (3 Leg)
T-intersection: 2 lane × 5 lane
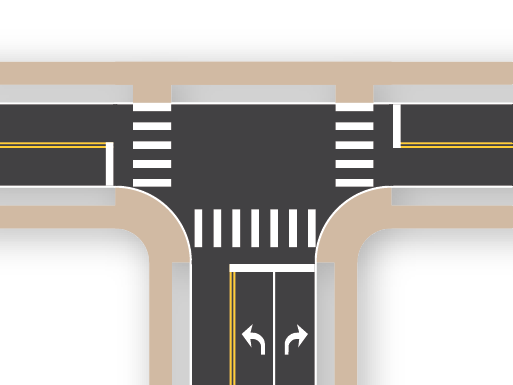
3×2 Intersection (3 Leg)
T-intersection: 3 lane × 2 lane
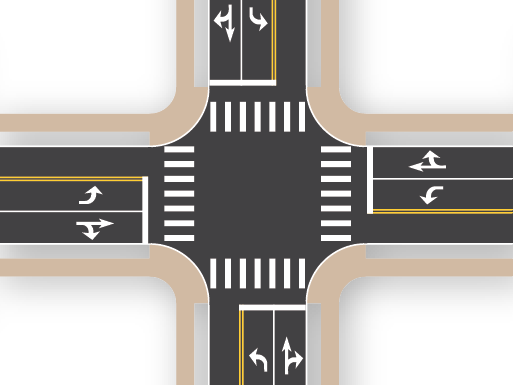
3×3 Intersection
3 lane road crossing a 3 lane road
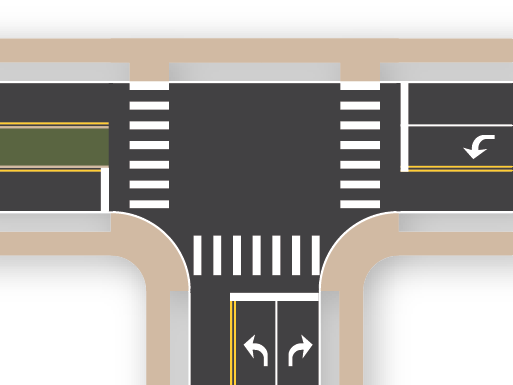
3×3 Intersection (3 Leg)
T-intersection: 3 lane × 3 lane
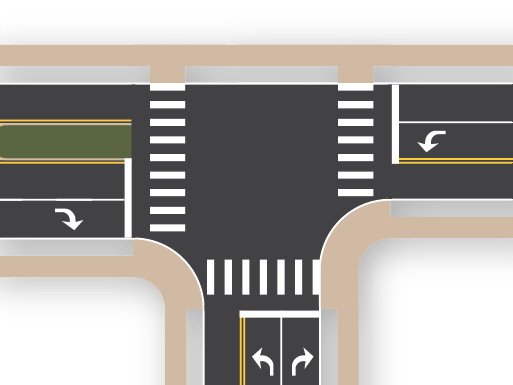
3×3×4 Intersection (3 Leg)
T-intersection: asymmetric 3×3×4 lane approaches
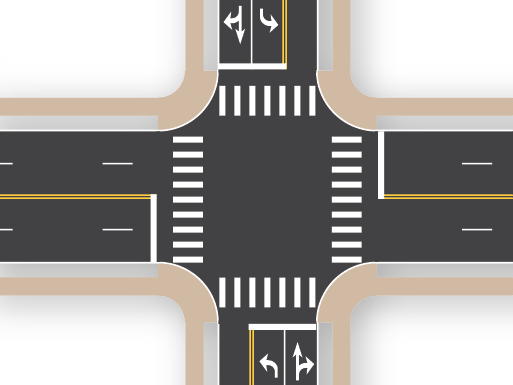
3×4 Intersection
3 lane road crossing a 4 lane road
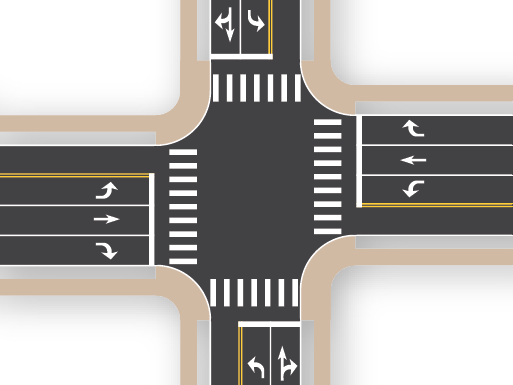
3×4 Intersection (Offset)
3 lane × 4 lane offset intersection
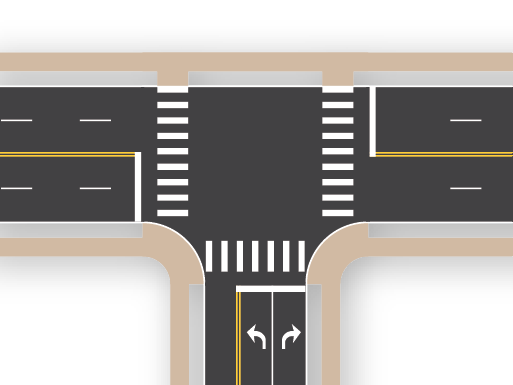
3×4 Intersection (3 Leg)
T-intersection: 3 lane × 4 lane
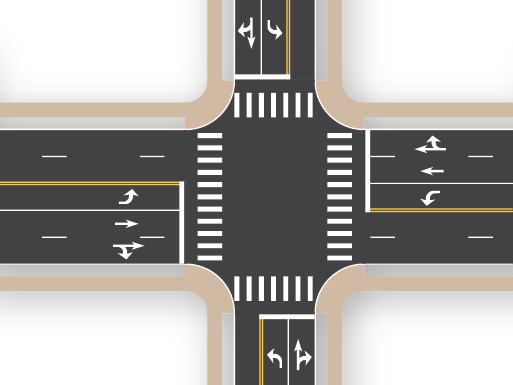
3×5 Intersection
3 lane road crossing a 5 lane road
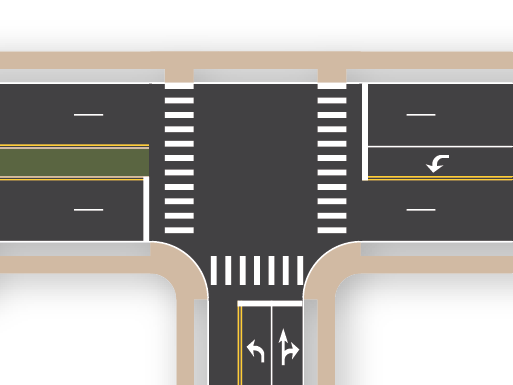
3×5 Intersection (3 Leg)
T-intersection: 3 lane × 5 lane
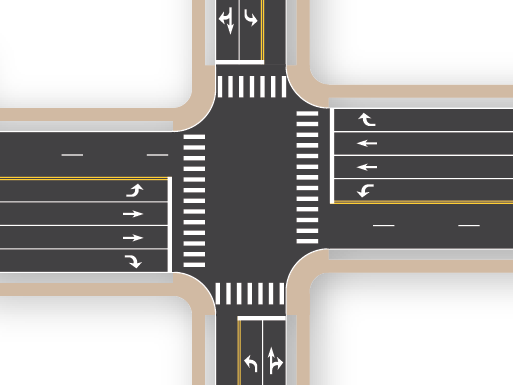
3×6 Intersection (Offset)
3 lane × 6 lane offset intersection
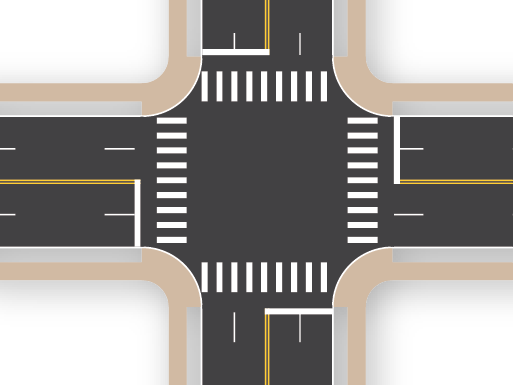
4×4 Intersection
4 lane road crossing a 4 lane road
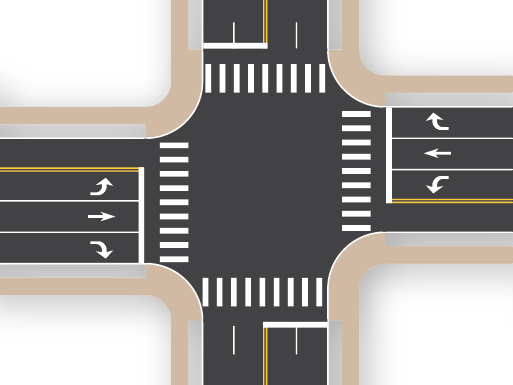
4×4 Intersection (Offset)
4 lane × 4 lane offset intersection
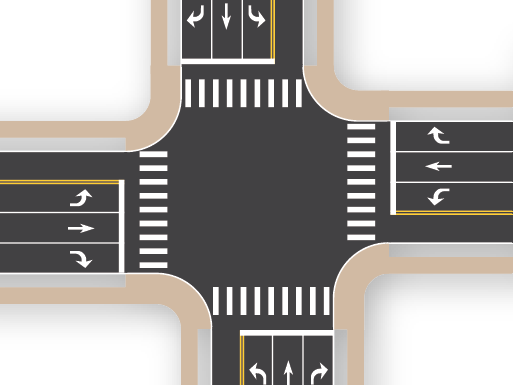
4×4 Intersection (Dual Offset)
4 lane × 4 lane intersection, both approaches offset
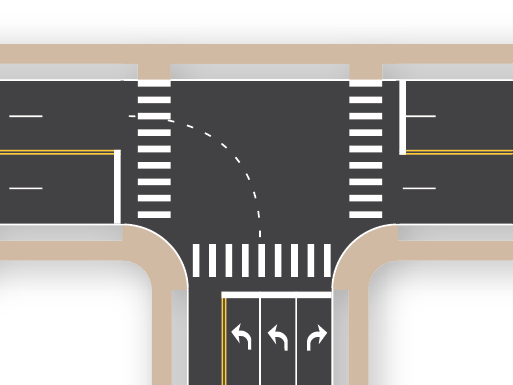
4×4 Intersection (3 Leg)
T-intersection: 4 lane × 4 lane
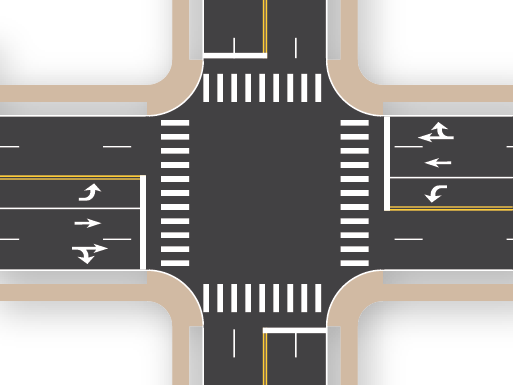
4×5 Intersection
4 lane road crossing a 5 lane road
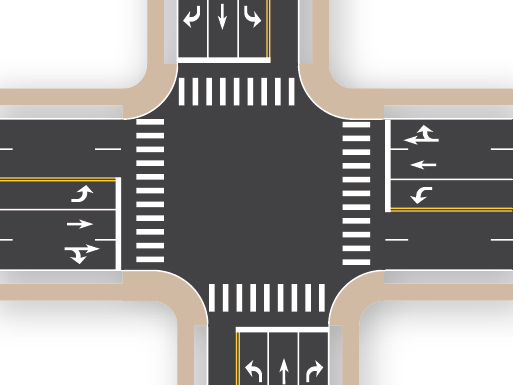
4×5 Intersection (Offset)
4 lane × 5 lane offset intersection
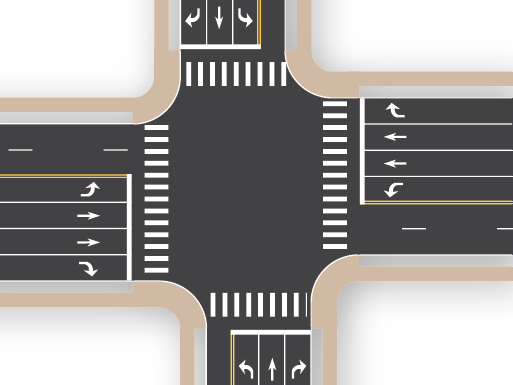
4×6 Intersection (Dual Offset)
4 lane × 6 lane intersection, both approaches offset
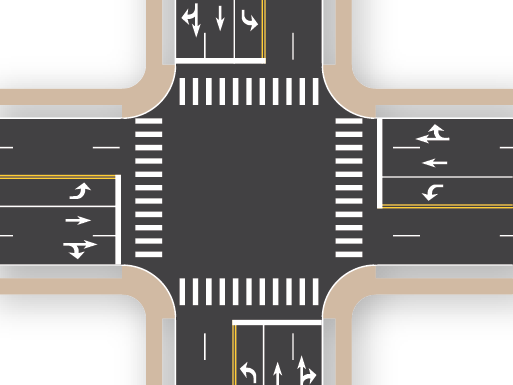
5×5 Intersection
5 lane road crossing a 5 lane road
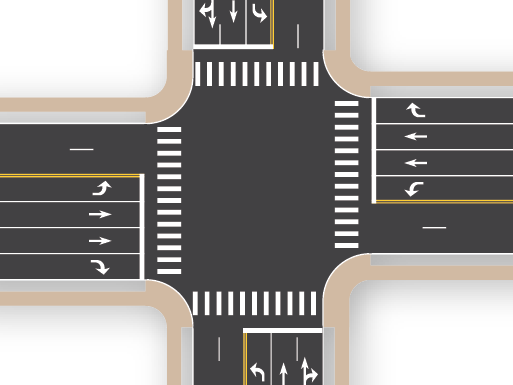
5×6 Intersection (Offset)
5 lane × 6 lane offset intersection
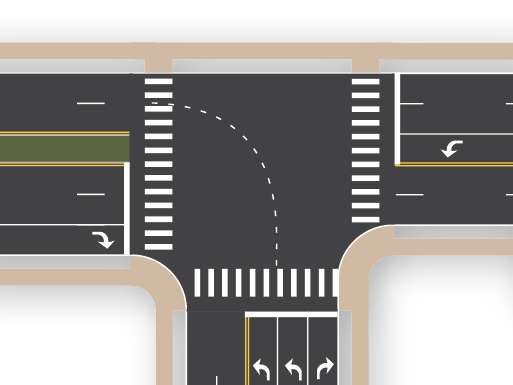
5×5×6 Intersection (3 Leg)
T-intersection: asymmetric 5×5×6 lane approaches
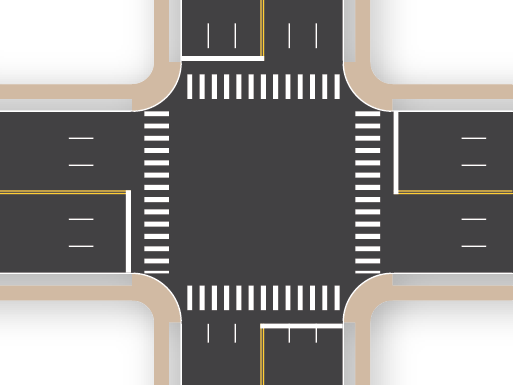
6×6 Intersection
6 lane road crossing a 6 lane road
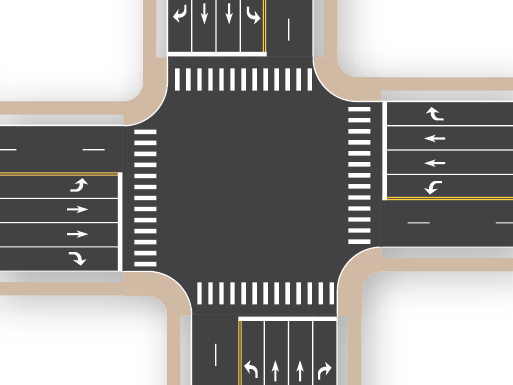
6×6 Intersection (Dual Offset)
6 lane × 6 lane intersection, both approaches offset
Roundabouts
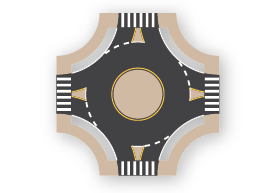
Mini Roundabout
Compact single-lane roundabout (60' inscribed circle diameter)
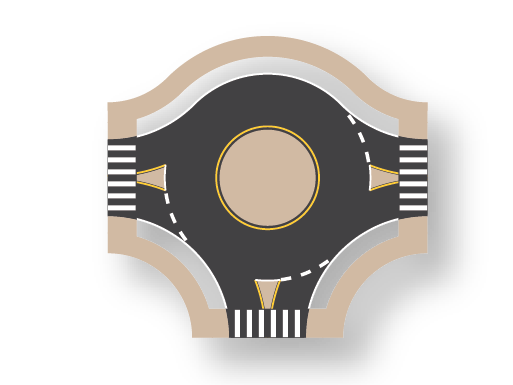
Mini Roundabout (3 Leg)
Compact single-lane roundabout with 3 legs (60' inscribed circle diameter)
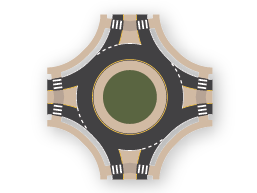
1 Lane
Standard 1 lane roundabout (100' inscribed circle diameter)
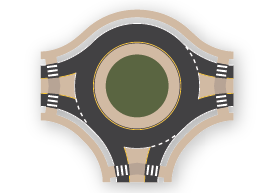
1 Lane (3 Leg)
1 lane roundabout with 3 legs (100' inscribed circle diameter)
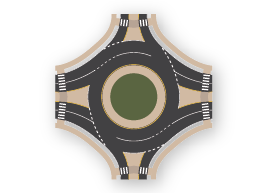
2×1 Roundabout
2 lane x 1 lane (140' inscribed circle diameter)
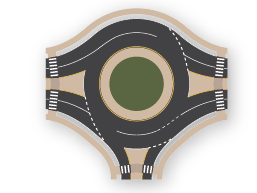
2×1 Roundabout (3 Leg)
2 lane x 1 lane (140' inscribed circle diameter)
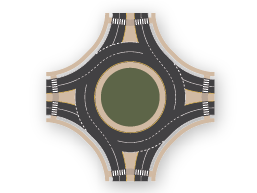
2×2 Roundabout
2 lane x 2 lane (170' inscribed circle diameter)

Custom 1 Lane Roundabout
Freeform 1 lane roundabout — customize the geometry to fit your intersection

Custom 2 Lane Roundabout
Freeform 2 lane roundabout — customize the geometry to fit your intersection
Pavement Markings & More
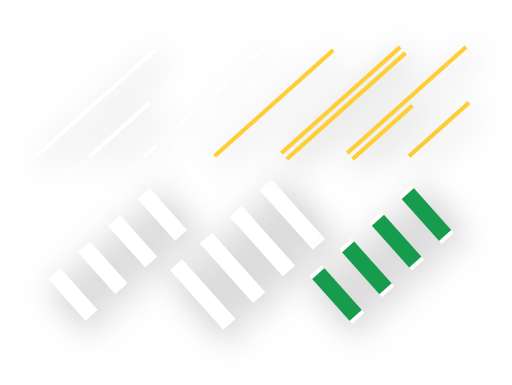
Custom Lines
Yellow, white, crosswalk, and other custom road line markings
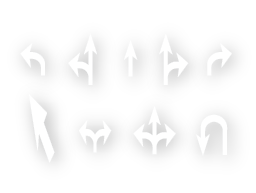
Lane Arrows
Directional arrows for lane guidance and turn markings

Roundabout Arrows
Curved directional arrows for roundabout lane markings
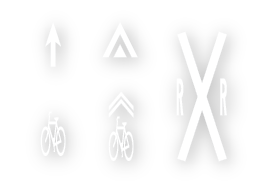
Other Pavement Markings
Miscellaneous pavement symbols and markings
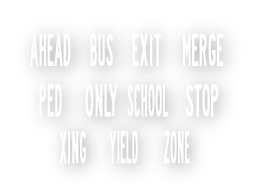
On-Street Words
Text painted on pavement — STOP, YIELD, ONLY, and more
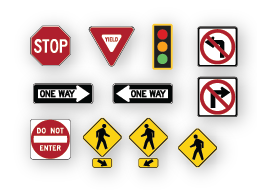
Signs
Road and traffic signs for use in road designs

Trees
Street trees and landscaping elements for road designs
Vehicles
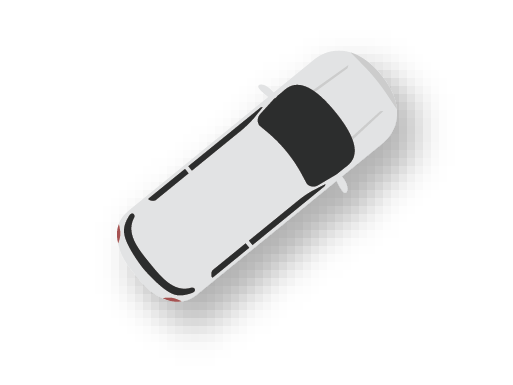
Car
Scale vehicle icon for traffic and parking layouts
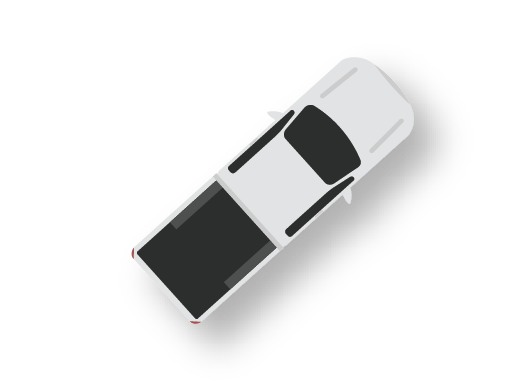
Pickup Truck
Scale pickup truck icon for parking and street context

Pedestrian
Scale figure for crosswalks and sidewalk scenes

Bike
Scale bicycle icon for bike lane and path layouts
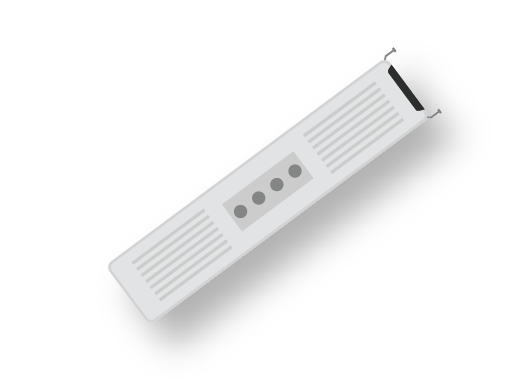
Bus
Scale vehicle icon for transit and bus lane layouts
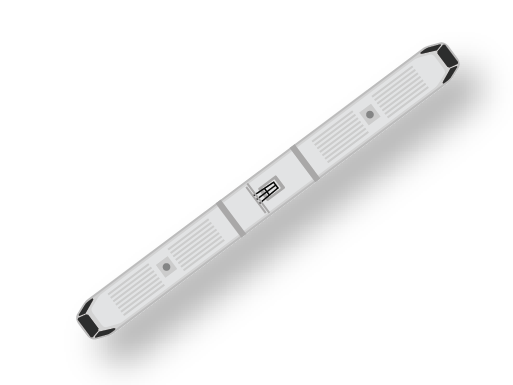
Light Rail Car
Scale vehicle icon for light rail and transit layouts